Starting an Allotment Garden in Toronto: A Beginner’s Guide + Top Tips
Starting an allotment garden in Toronto sounded simple at first—until I started my plot in early spring back about five years ago. Being a new grower, I imagined rich soil, easy planting, and quick results. The reality of allotment gardening and taking care of your plot didn’t turn out what I imagined, there are some lessons I wished I knew when I first started.
Most allotment gardens in Toronto start as a mess. The past plot permit holder’s past items, old plants and weeds can take over the plot so starting is cleaning up and getting the soil ready. But before you can gain access to your allotment garden in Toronto, you need to first register as an allotment permit holder with the city.
How Allotment Gardens Work in Toronto
Toronto offers 13 allotment locations in total, including 12 outdoor gardens and 1 indoor greenhouse, all managed by the city for residents who want to grow vegetables and flowers for personal use. All these allotment garden in Toronto plots are in high demand, and there is a waitlist process with varying times depending on the location. About five years ago, registration was done through the office and scanning contracts, but now it’s all done online!
Registering for a Toronto Allotment Plot - Tip #1: Be familiar with your city’s online registration process.
With more reliance on technology and completing online registration requirements, there are different sections to be familiar with for the city of Toronto. For example, you will need an email address to create an account. You can find full details on the City of Toronto’s allotment garden program here:https://www.toronto.ca/explore-enjoy/parks-recreation/places-spaces/beaches-gardens-attractions/gardens-and-horticulture/allotment-plots-gardens/.
Join a waitlist or book a plot through the official Toronto parks system here:https://www.toronto.ca/services-payments/venues-facilities-bookings/booking-park-recreation-facilities/seasonal-league-permit-booking/?accordion=allotment-garden-plots.
Once a year, folks on the waitlist will have the opportunity to register once the current permit holder’s renewal process period is completed. If the current permit holder chooses not to renew, then their plot will become available to those on the waitlist. When I first registered, I worked with the city’s Parks & Recreation Facilities to understand what plots were available and to confirm my preferred plot number with payment and contract signing. Once this was completed, then I was ready to arrange for how I can receive the key to the allotment area.
What to Expect When You First Get Your Plot
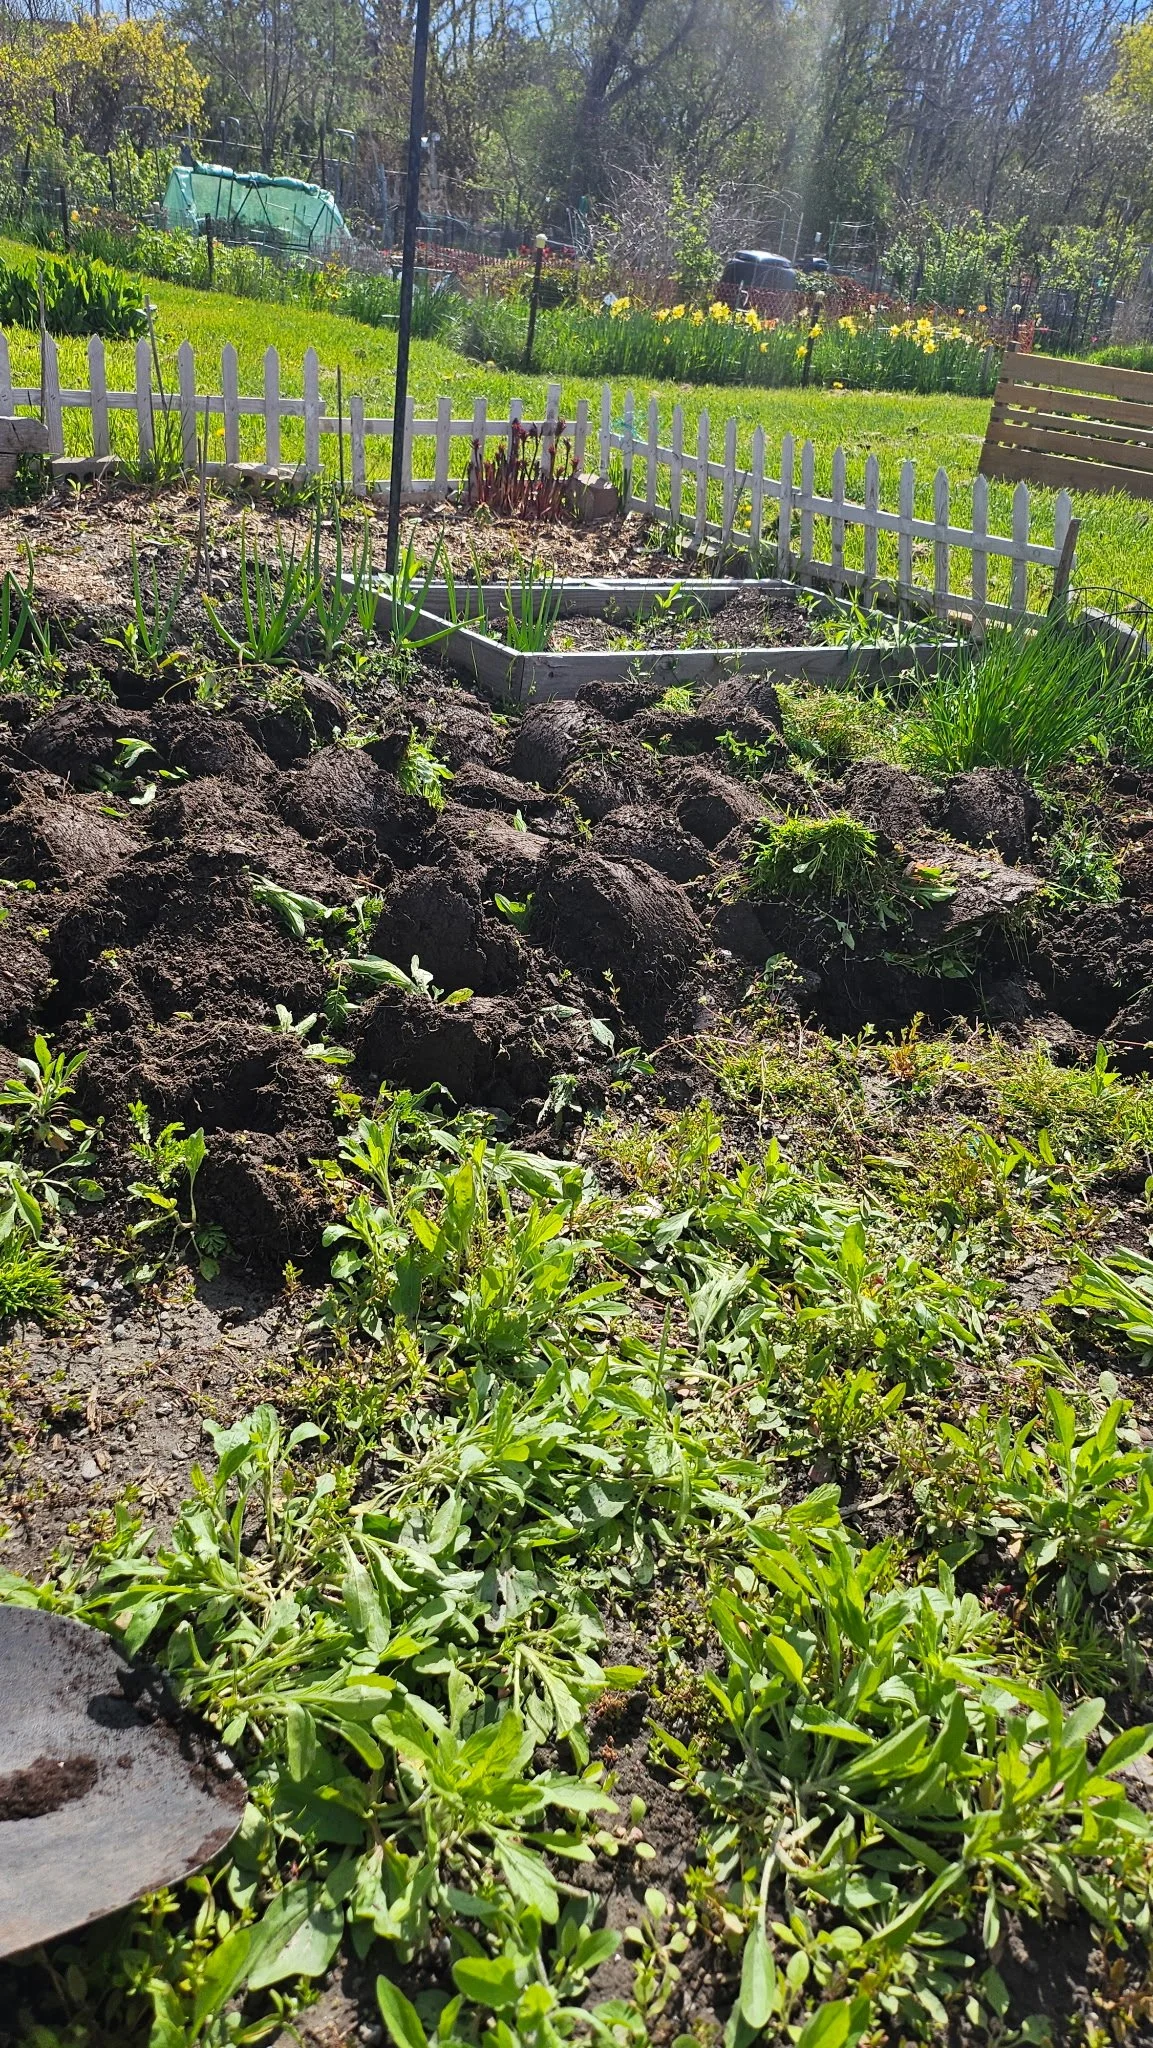
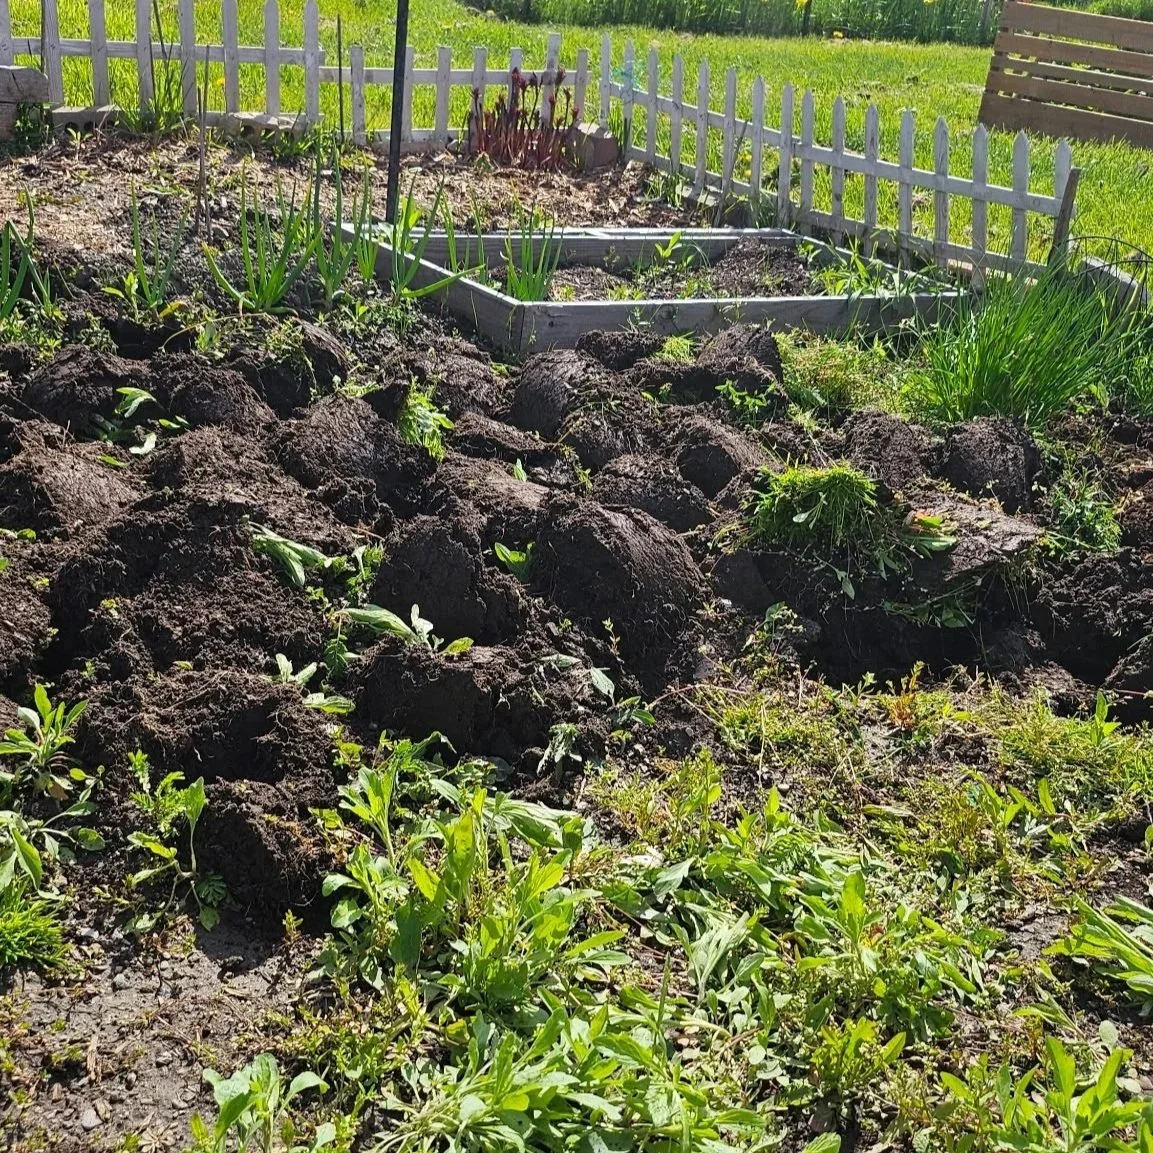
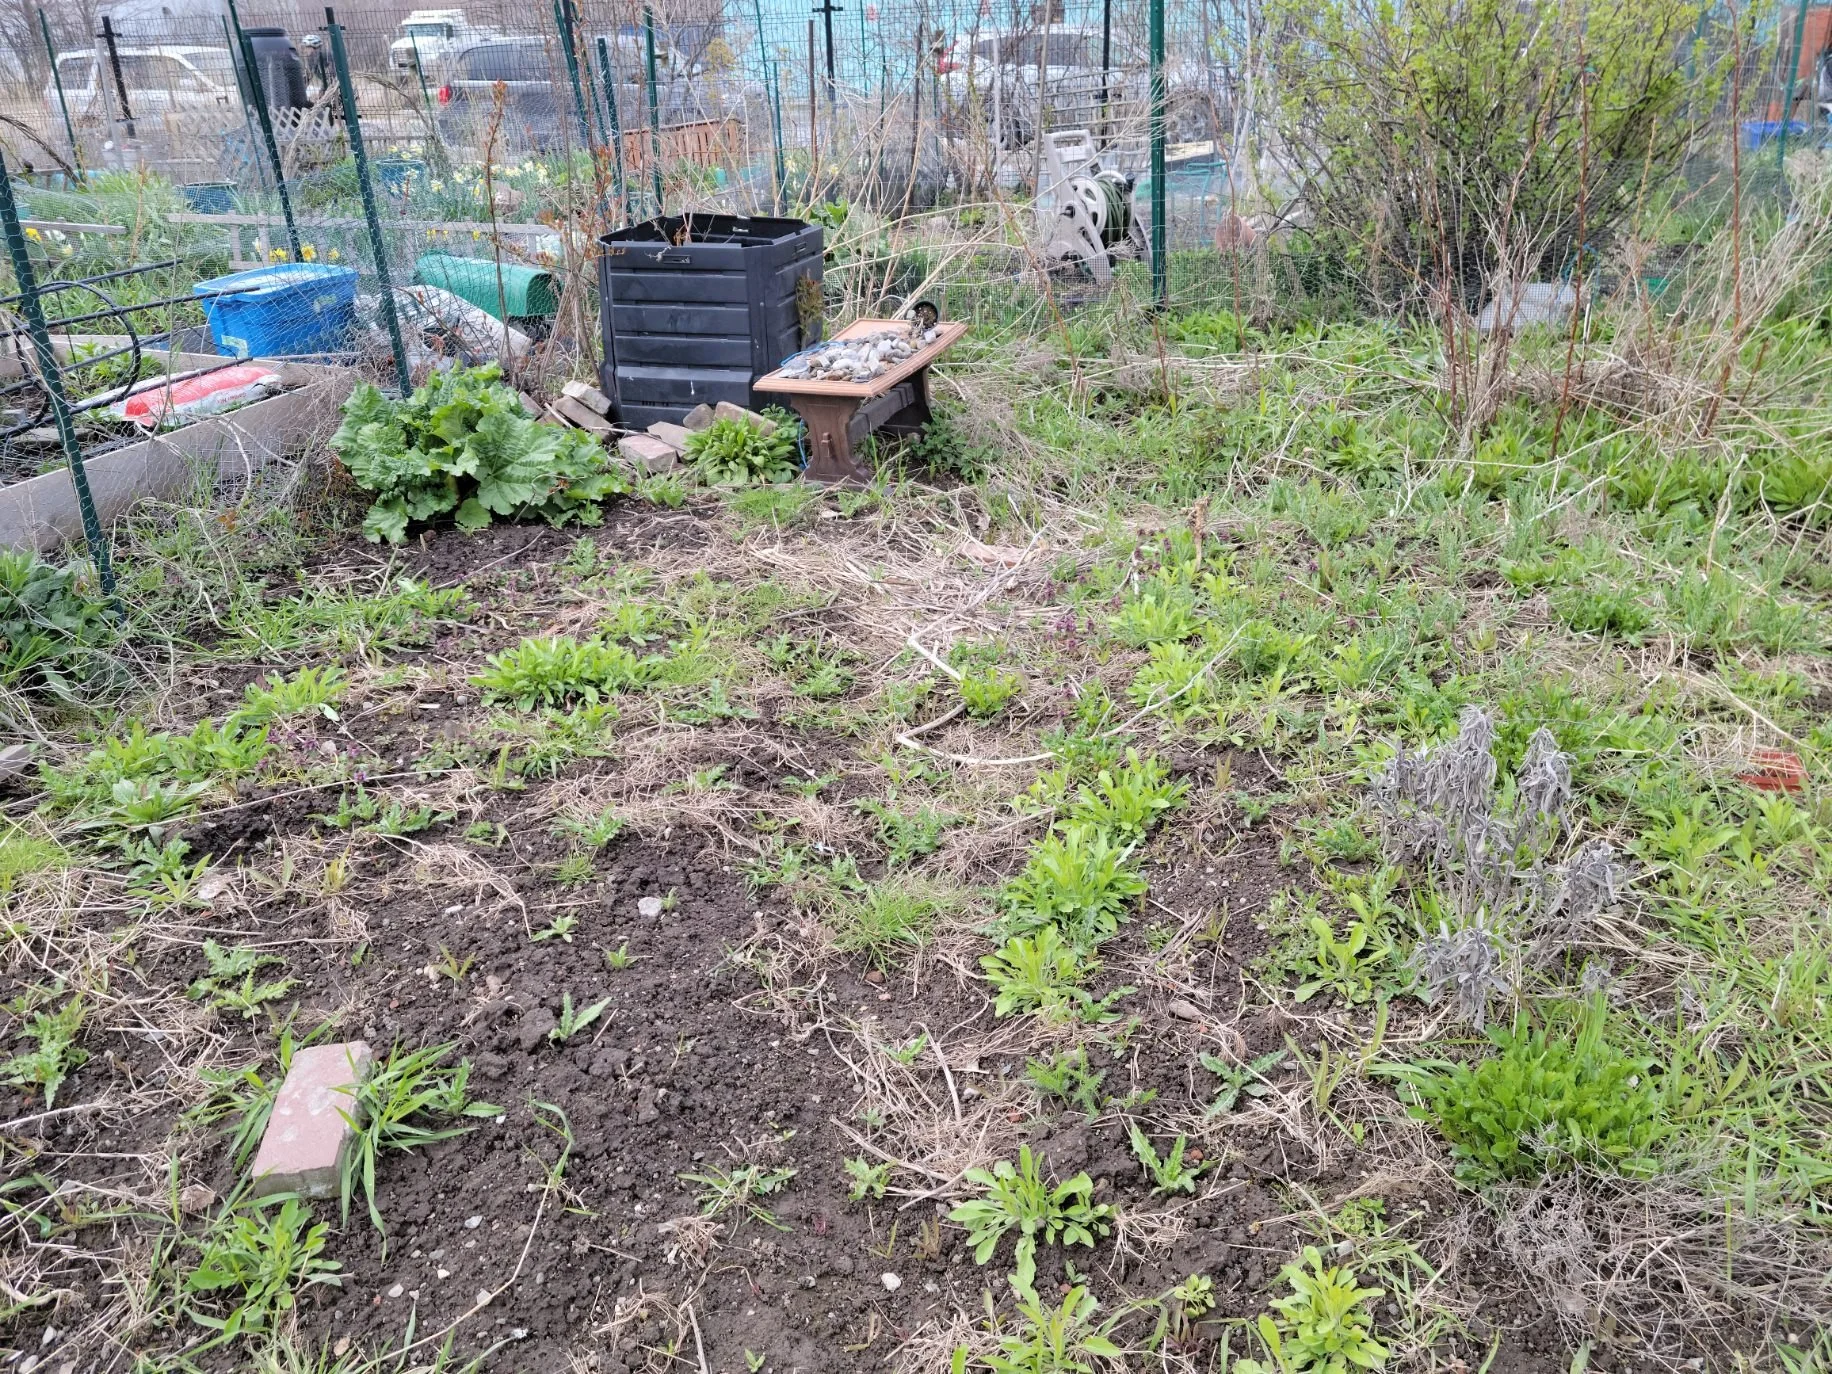
I choose not to see the space prior to signing the permit, and wow, what a surprise. There were large and small weeds that took over the plot, where the soil was very compacted and wasn’t sure how nutrient-full the soil was. The past permit holder left their garbage behind like old pots and trays from past plantings that needed to be cleared, along with all the weeds that took over the plot. There was an old lining that needed to be removed and underneath was very dense compacted soil.
Tip #2: Start with soil prep first and pull weeds early before they spread—poor soil and lack of nutriets will limit everything else.
If you’re starting an allotment garden in Toronto, soil preparation should be your first priority. Many plots have compacted clay soil, leftover debris, and weeds from previous gardeners. Break up the soil, remove weeds early, and add compost to improve drainage and nutrients. Healthy soil is the foundation of successful urban gardening in Ontario.
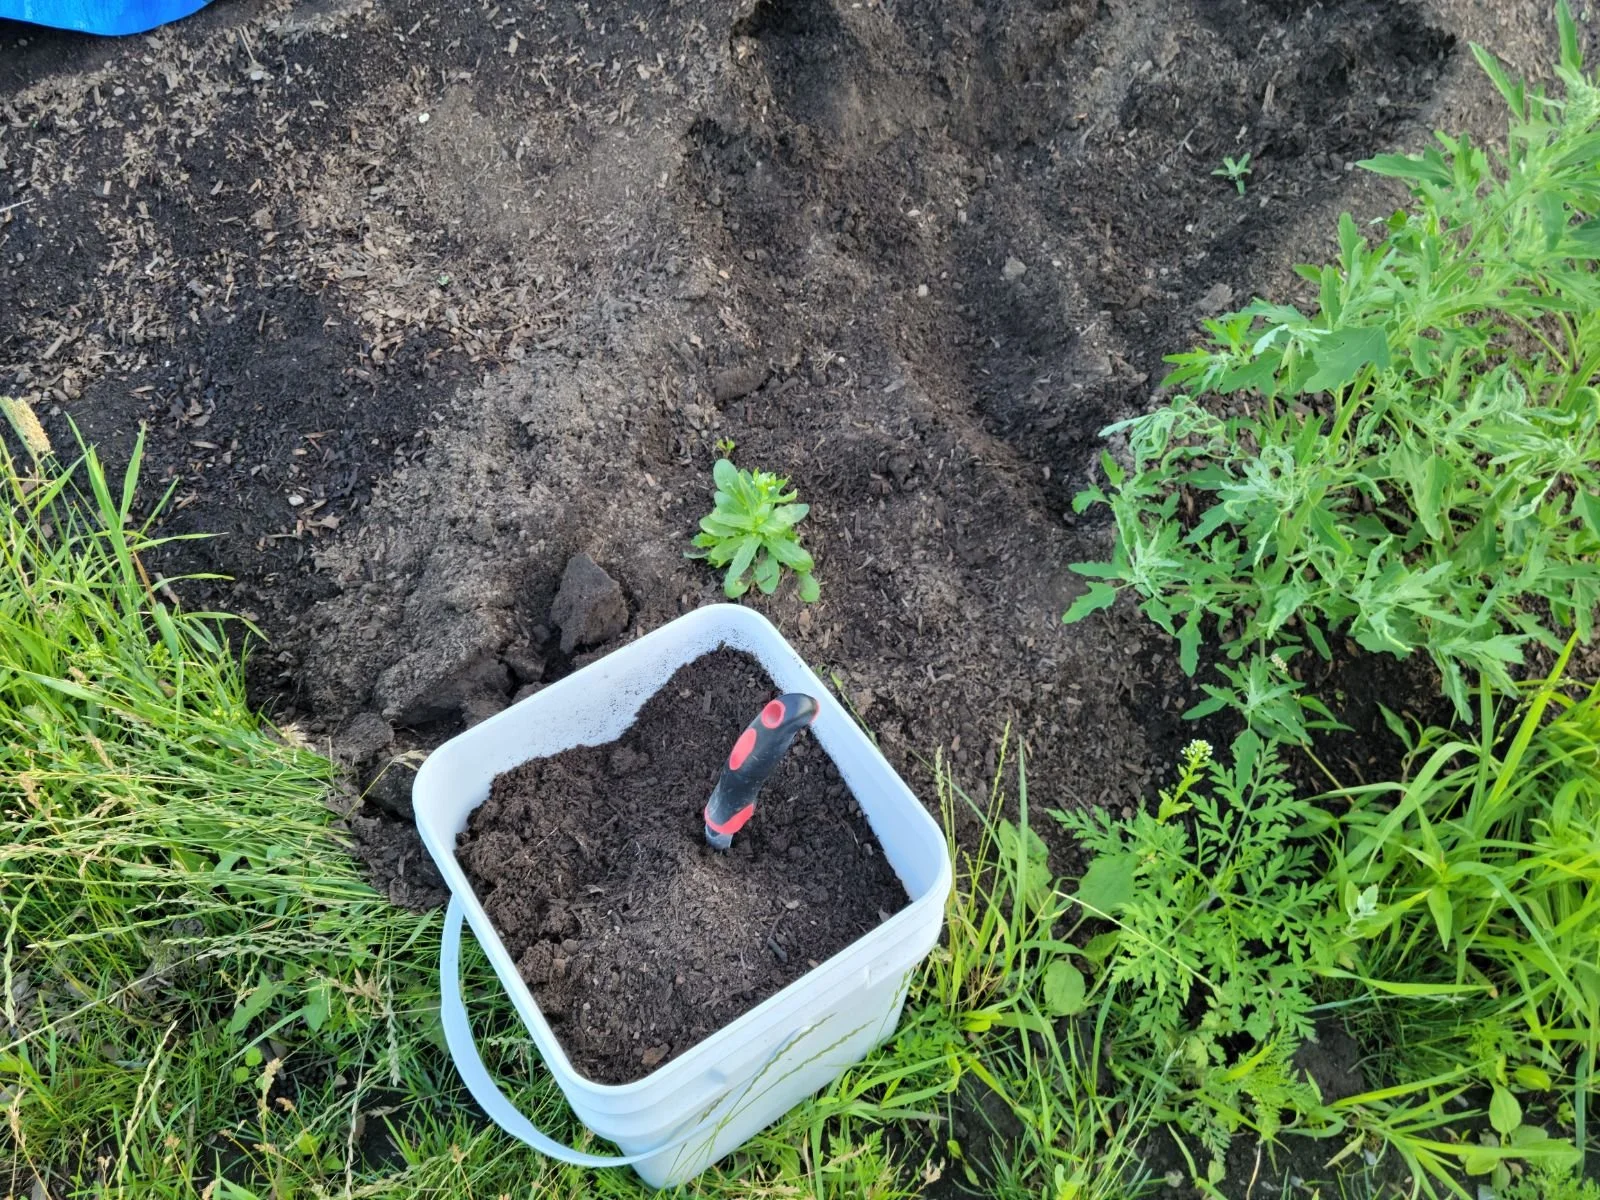
After spending many hours crouched over, pulling out weeds and preparing the soil. I was ready to plant, and I had so many ideas. I planted grapes, cucumbers, tomatoes, peppers, flowers, eggplant, corn, and strawberries in my newly tilled plot that was about 6x9feet, where I didn’t quite understand the plot environment, sun or soil quality. All the seedlings, flowers, and bulbs didn’t last the full season due to my lack of experience, flooding, sun exposure and the existence of voles!
Lessons Learned From My First Year Gardening
Soil preparation is one of the most important parts of a successful allotment garden in Toronto. Without it, even the easiest crops will struggle. I quickly learned that investing time in your soil early in the growing season leads to better results later, especially in Ontario’s shorter gardening window.
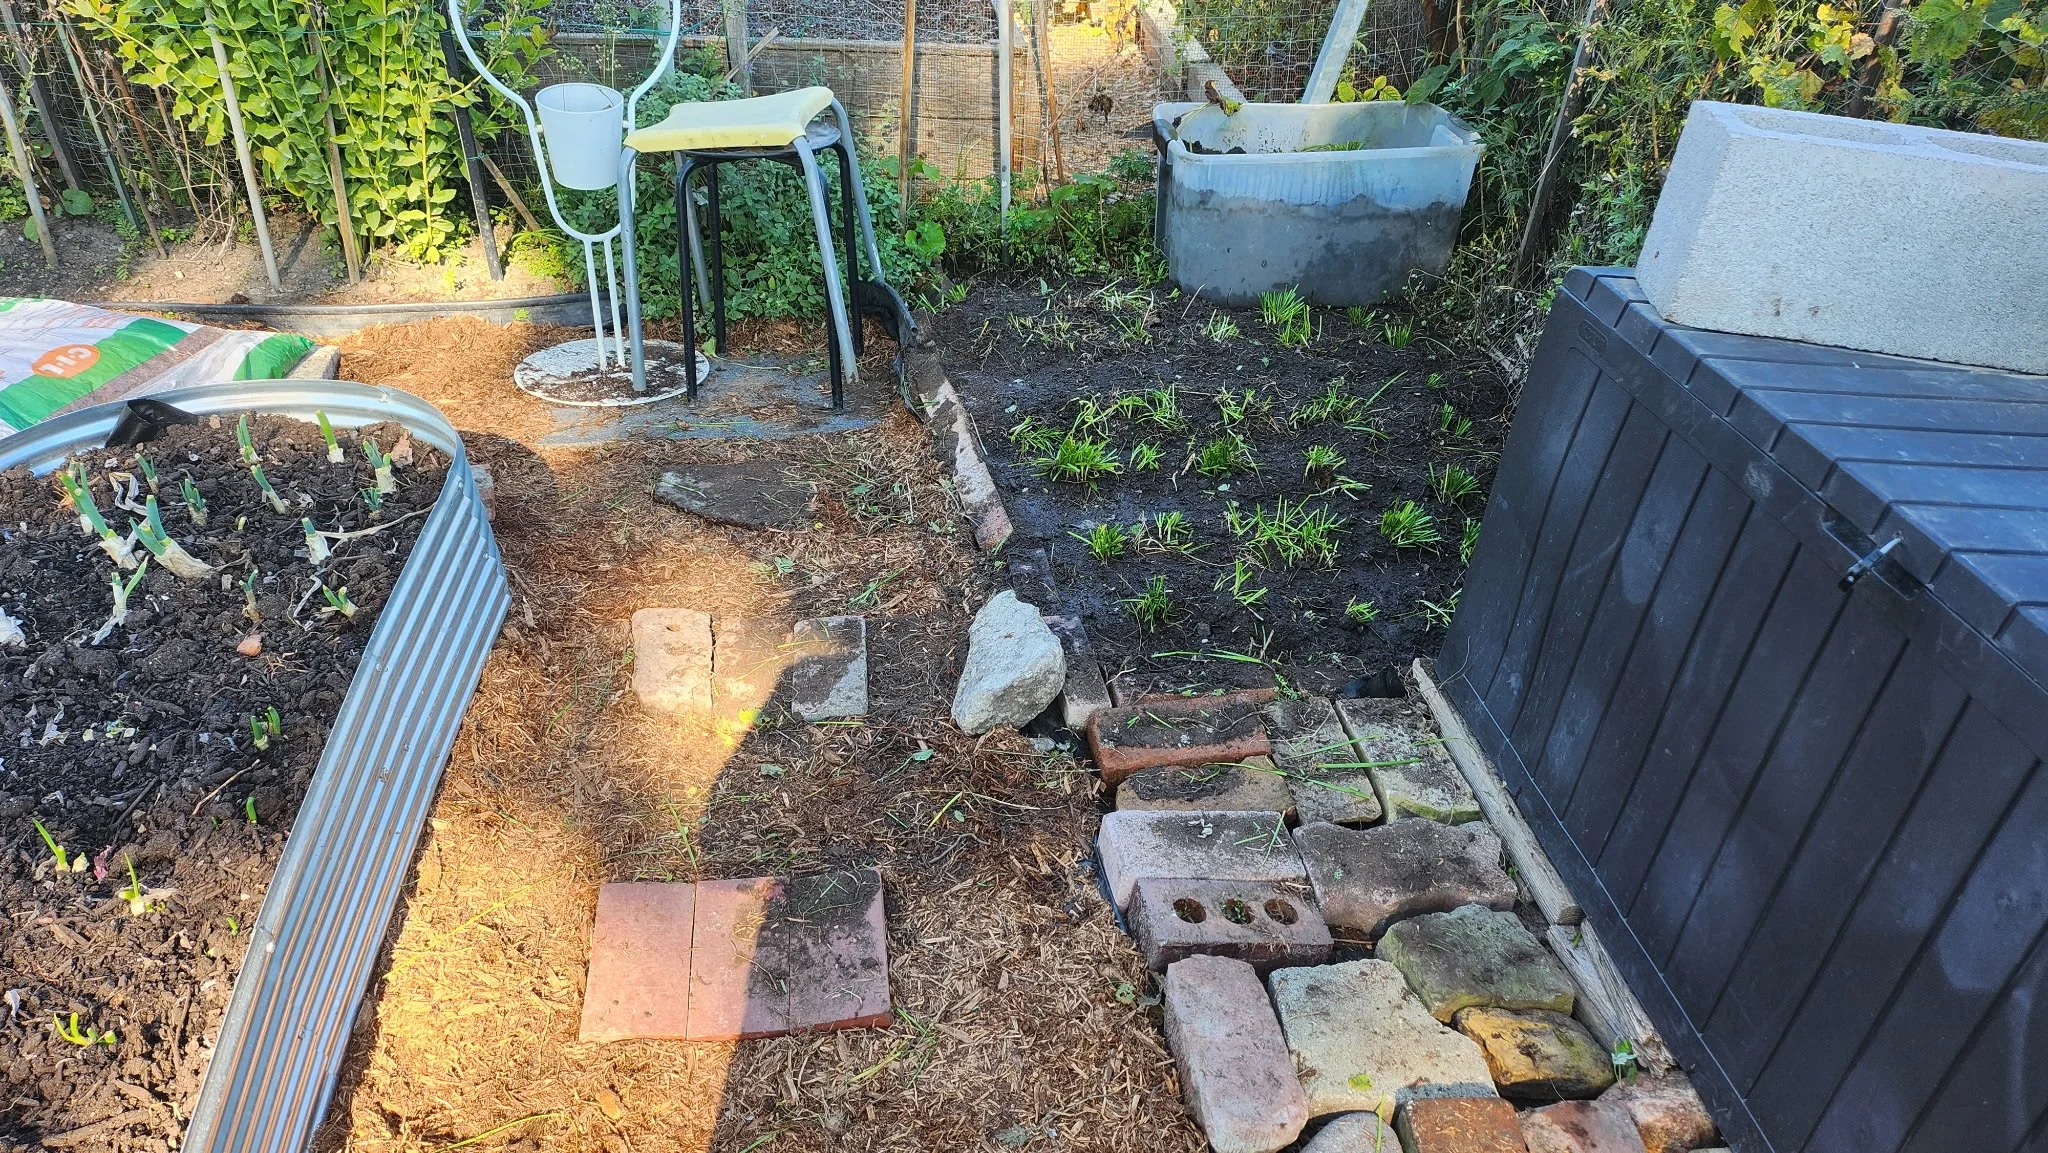
Tip #3: Start small so the garden feels manageable and less overwhelming.Consistency is what turns a small plot into a productive allotment garden.
If you’re thinking about starting an allotment garden in Toronto or anywhere in Ontario, the best approach is to start small and learn as you go. Focus on soil quality, choose easy crops, and build consistent habits. Over time, your allotment garden will become easier to manage and more rewarding.
Regular watering, monitoring soil conditions, and removing weeds are all part of maintaining a healthy garden especially with an ambitious first year. What I’ve learned is that In Toronto’s climate, even a few missed days during hot weather can impact plant growth along with animals that also enjoy the bounties of these allotments.
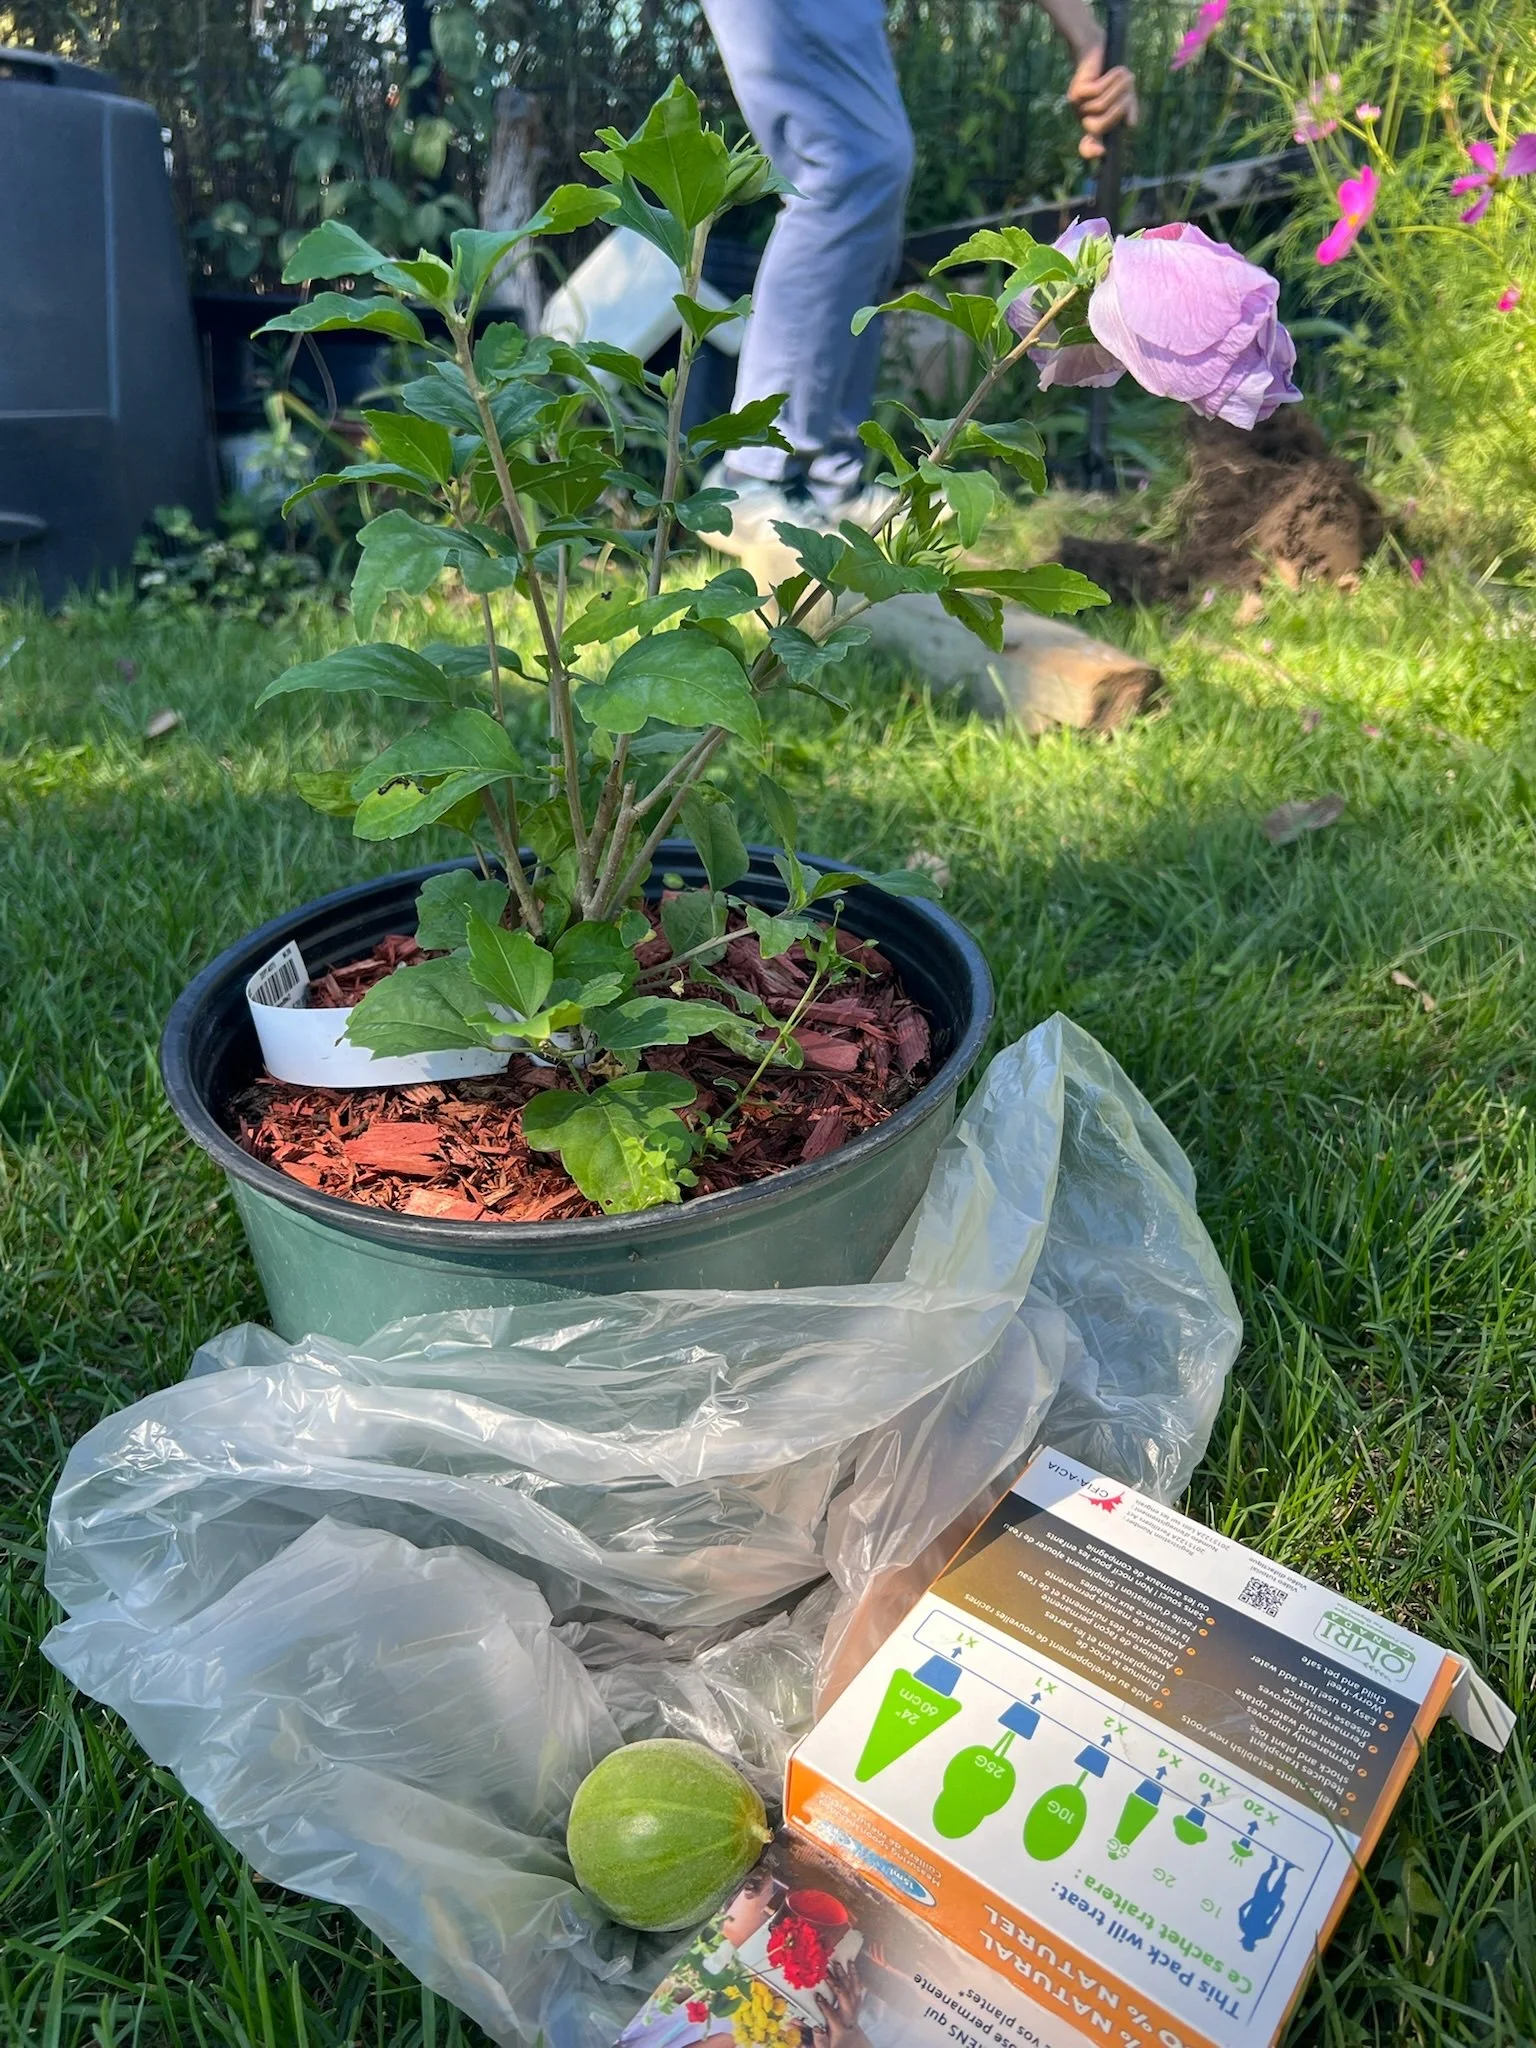
Tip #4:Choose easy crops for beginners. Water not available based on the pemit.
The permit starts mid-May, and this is also when water is available to the allotment garden plots. If water is essential to maintaining seedlings, the allotment plot isn’t the best place to do there. Easy maintenance crops are ideal depending on the sun exposure. Also choose crops that require similar nutrient levels, rather than trying to maintain too many – for example, good drainage versus those that do well with over watering.
Tip #5: Track what you plant, so you can learn what works best next seas
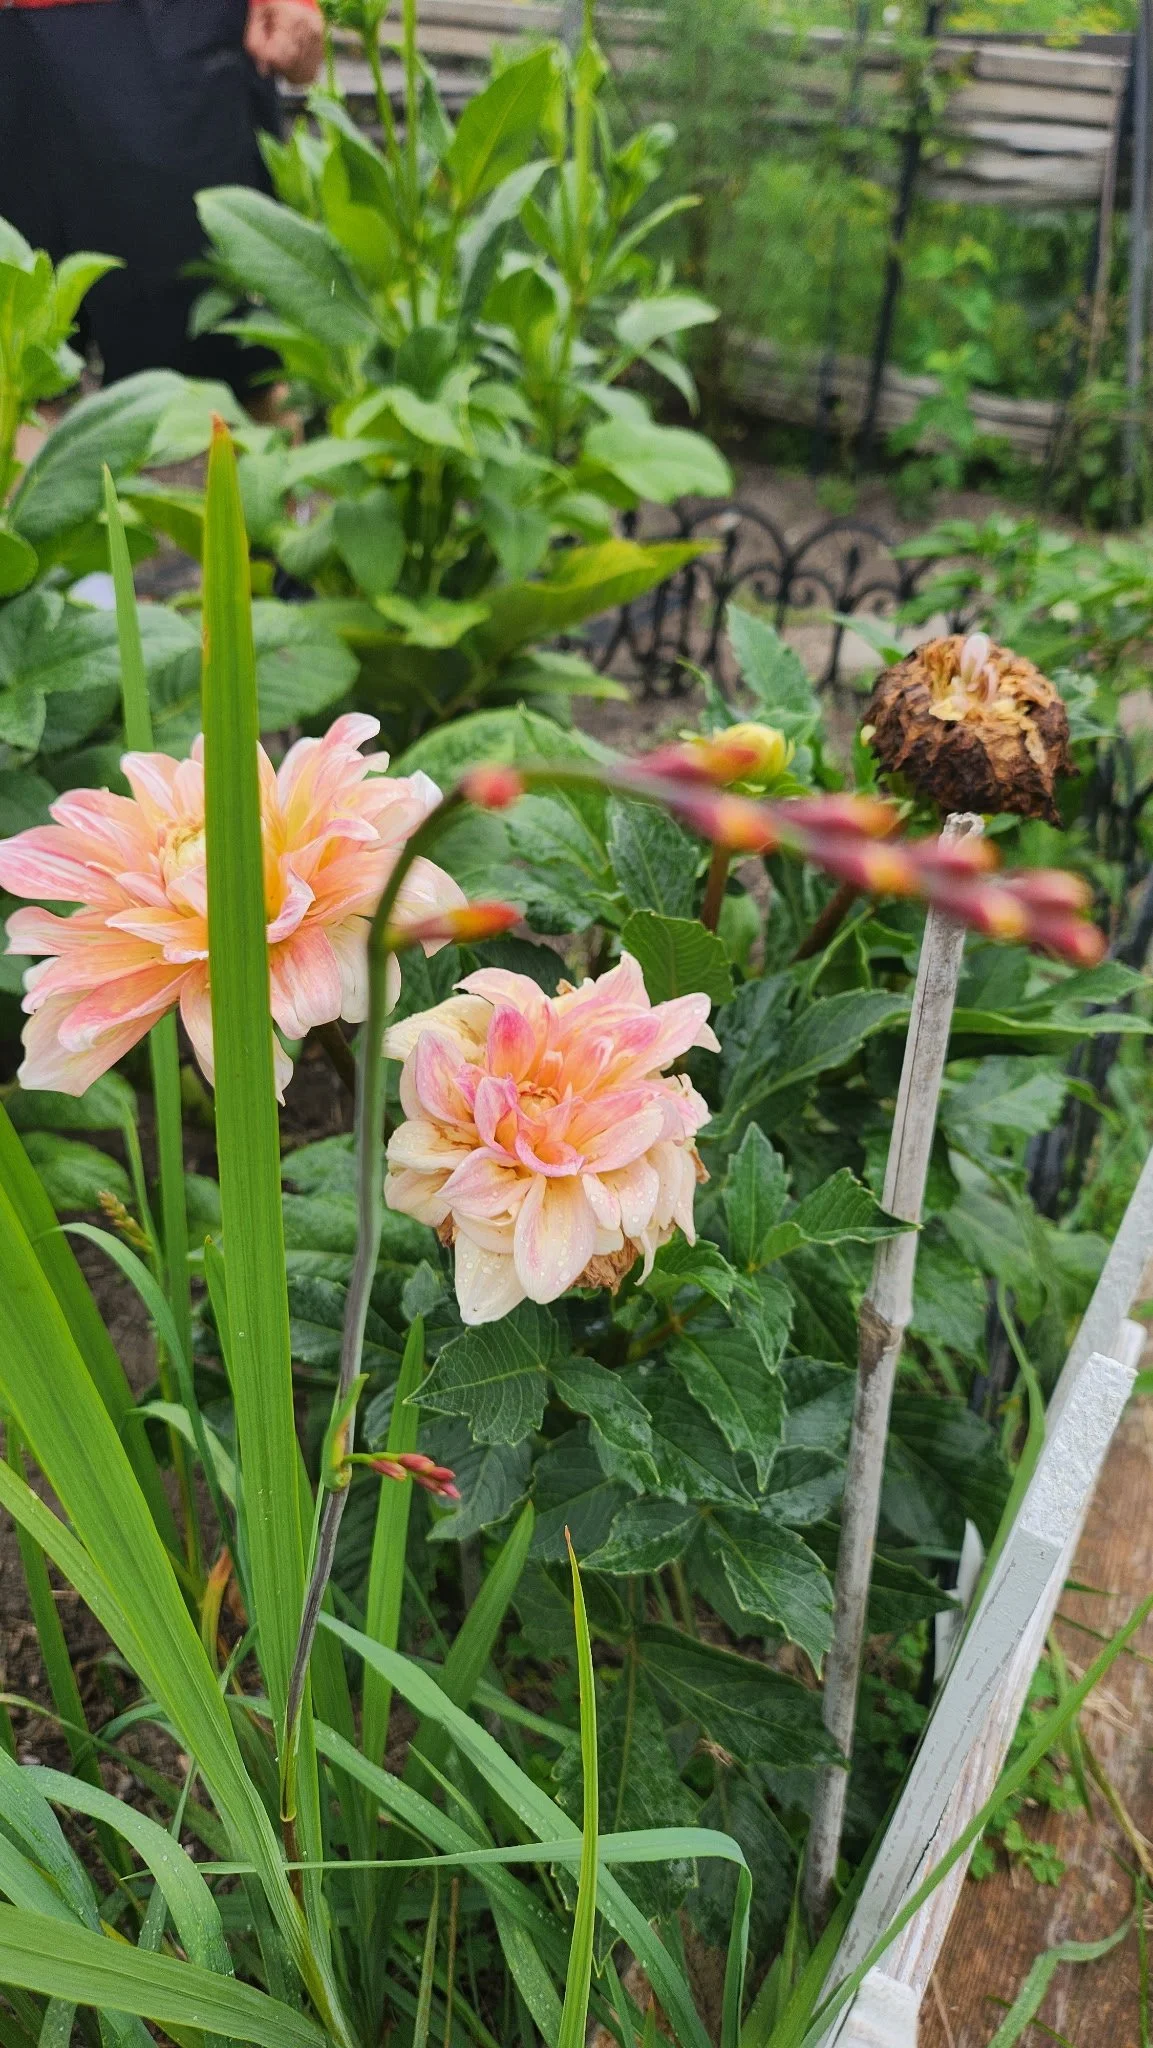
One of the biggest benefits of starting an allotment garden in Toronto isn’t just growing your own food—it’s the routine and connection to the outdoors. Spending time in your garden, even for a few minutes a day, can be both productive and relaxing. Take note about how your season does and what your soil needs.
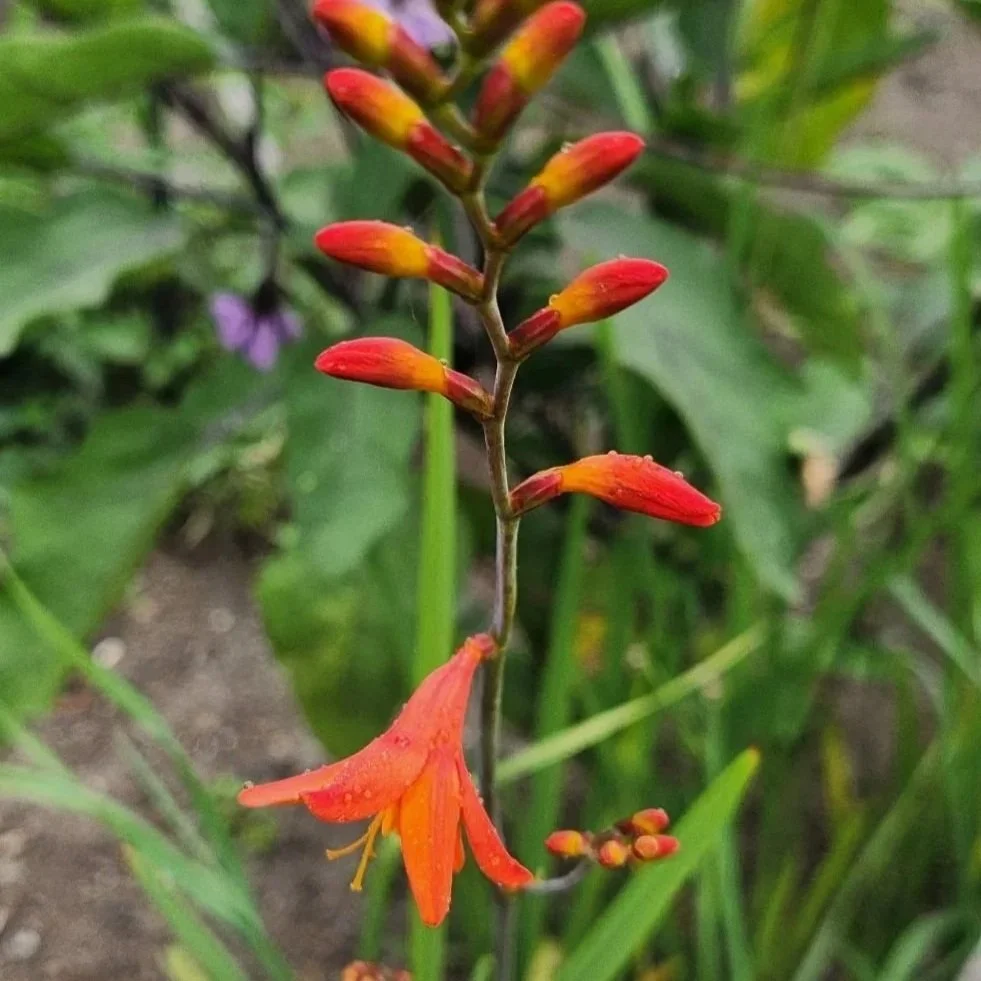
After my first year of trial and error, I started to understand what works in an allotment garden in Toronto. Sun exposure, soil drainage, and crop selection made all the difference. Tomatoes, eggplant, and corn thrived, while other plants struggled in the wrong conditions. If you’re starting an allotment garden in Ontario, expect a learning curve—but with the right approach, it becomes one of the most rewarding ways to grow your own food.
FAQ: Toronto Allotment Gardens
How long is the waitlist for a Toronto allotment garden? Wait times vary by location but can range from 1–5 years depending on demand.
When does the allotment gardening season start in Toronto? Most permits begin in mid-May and run through the growing season.
What grows well in Toronto allotment gardens? Tomatoes, peppers, zucchini, beans, and herbs tend to do well in Ontario’s climate
토론토에서 텃밭 가꾸기 시작하기: 초보자 가이드 + 유용한 팁
토론토에서 텃밭을 가꾸는 건 처음에는 간단해 보였어요. 하지만 5년 전 이른 봄에 텃밭을 시작하면서 생각이 바뀌었죠. 초보 재배자였던 저는 비옥한 토양, 쉬운 파종, 그리고 빠른 결실을 기대했어요. 하지만 텃밭 가꾸기와 텃밭 관리의 현실은 제가 상상했던 것과는 달랐고, 처음 시작할 때 알았더라면 좋았을 몇 가지 교훈들이 떠올랐습니다.
토론토의 대부분의 텃밭은 처음에는 엉망인 상태입니다. 이전 텃밭 이용자들이 남긴 물건, 묵은 식물, 잡초 등이 텃밭을 뒤덮고 있기 때문에, 가장 먼저 해야 할 일은 청소하고 흙을 준비하는 것입니다. 하지만 토론토에서 텃밭을 이용하려면 먼저 시에 텃밭 이용 허가를 등록해야 합니다.
토론토의 텃밭 가꾸기 방식은 어떻게 될까요?
토론토 시에는 총 13곳의 텃밭이 있으며, 이 중 12곳은 야외 텃밭이고 1곳은 실내 온실입니다. 모두 시에서 관리하며, 주민들이 개인적인 용도로 채소와 꽃을 재배할 수 있도록 제공됩니다. 토론토의 모든 텃밭은 인기가 많아 대기자 명단에 이름을 올려야 하며, 대기 기간은 장소에 따라 다릅니다. 약 5년 전에는 사무실을 방문하여 계약서를 스캔하는 방식으로 등록했지만, 지금은 모든 절차가 온라인으로 진행됩니다.
토론토 텃밭 신청하기 - 팁 #1: 해당 도시의 온라인 신청 절차를 숙지하세요.
기술 활용도가 높아지고 온라인 등록 절차가 간소화됨에 따라 토론토 시 웹사이트에서 알아두어야 할 몇 가지 사항이 있습니다. 예를 들어, 계정을 만들려면 이메일 주소가 필요합니다. 토론토 시의 텃밭 프로그램에 대한 자세한 정보는 여기에서 확인할 수 있습니다. https://www.toronto.ca/explore-enjoy/parks-recreation/places-spaces/beaches-gardens-attractions/gardens-and-horticulture/allotment-plots-gardens/ .
대기자 명단에 등록하거나 토론토 공원 공식 시스템을 통해 부지를 예약하려면 여기를 클릭하세요. https://www.toronto.ca/services-payments/venues-facilities-bookings/booking-park-recreation-facilities/seasonal-league-permit-booking/?accordion=allotment-garden-plots .
대기자 명단에 있는 사람들은 1년에 한 번, 현재 허가 소지자의 갱신 절차가 완료되면 등록할 기회를 갖게 됩니다. 현재 허가 소지자가 갱신하지 않기로 선택하면 해당 구역은 대기자 명단에 있는 사람들에게 제공됩니다. 저는 처음 등록할 때 시 공원 및 레크리에이션 시설 담당자와 협력하여 이용 가능한 구역을 확인하고, 원하는 구역 번호를 확정하고 계약서에 서명했습니다. 이 과정이 완료된 후에는 텃밭 열쇠를 받는 방법을 마련했습니다.
처음 플롯을 받았을 때 무엇을 기대해야 할까요?
저는 허가서에 서명하기 전에 현장을 직접 보지 않기로 했는데, 정말 놀라웠습니다. 크고 작은 잡초들이 땅을 뒤덮고 있었고, 흙은 매우 단단하게 다져져 있었으며 영양분이 얼마나 되는지도 알 수 없었습니다. 이전 허가권자는 예전에 심었던 화분과 트레이 같은 쓰레기를 그대로 남겨두고 갔는데, 이것들도 치워야 했고, 그 위에는 잡초들이 무성하게 자라 있었습니다. 또한, 오래된 바닥 깔개가 있었는데, 그 아래에는 단단하게 다져진 흙이 있었습니다.
팁 #2: 토양 준비부터 시작하고 잡초가 번지기 전에 미리 제거하세요. 토양이 척박하고 영양분이 부족하면 모든 것이 제대로 자라지 못합니다.
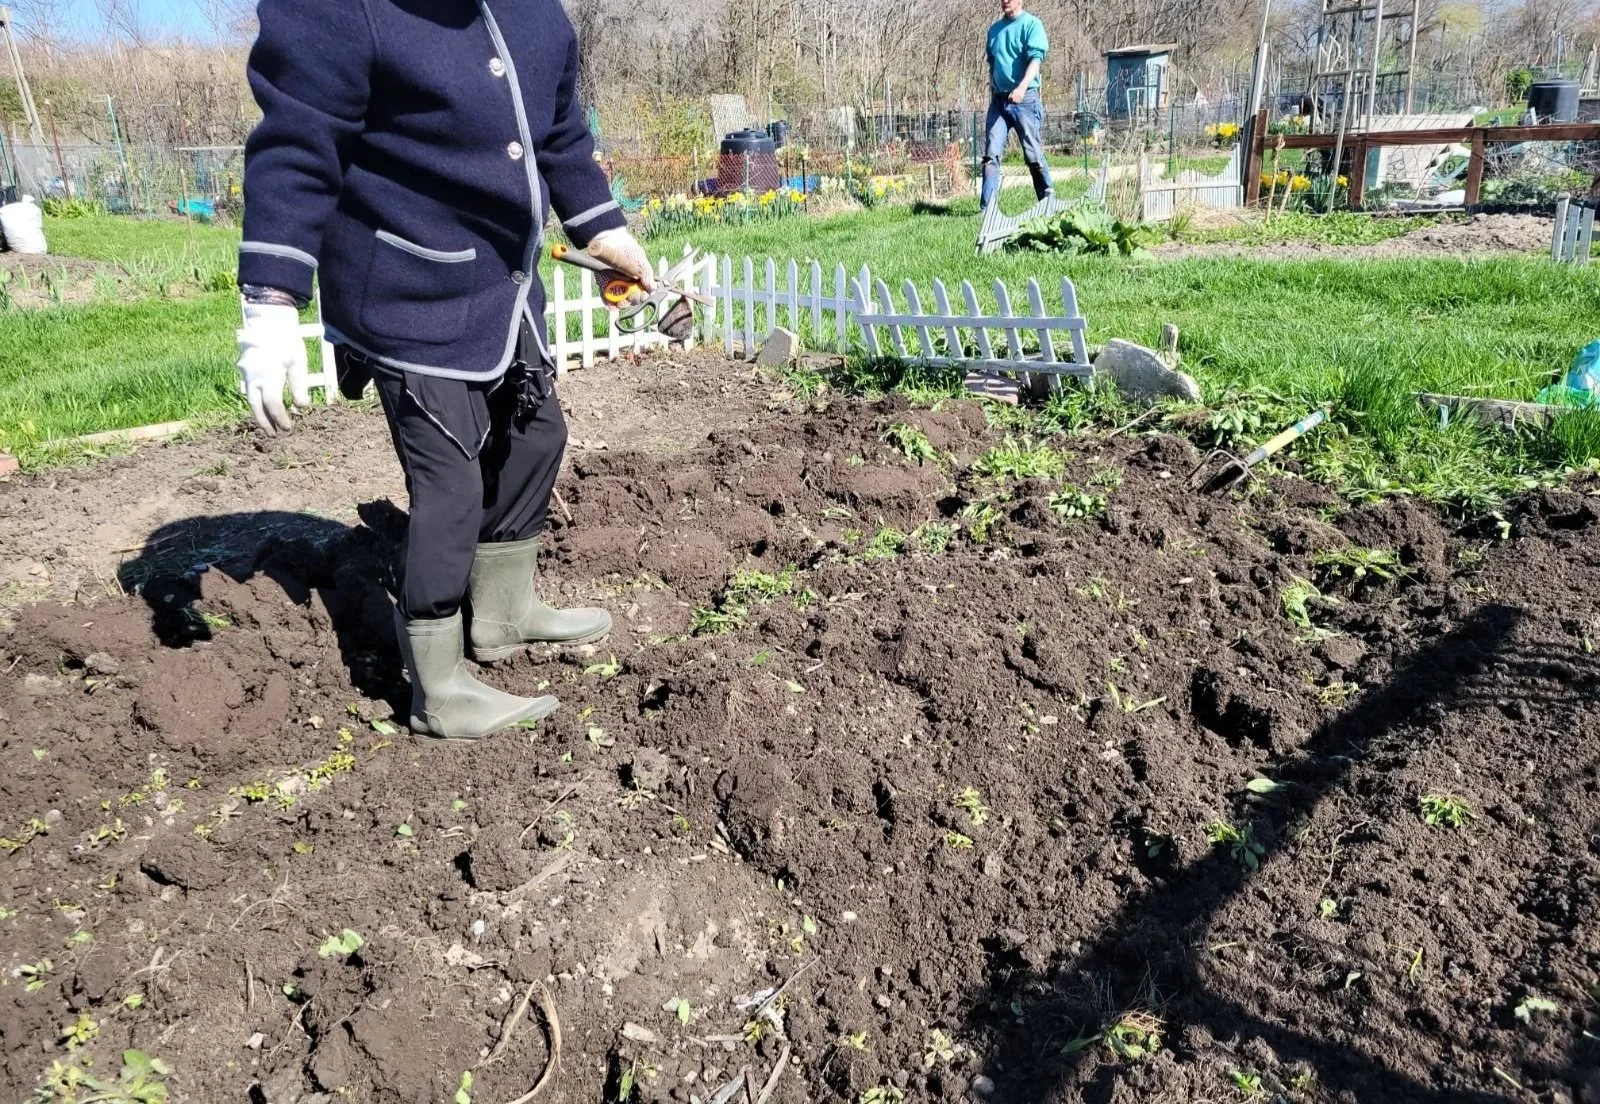
토론토에서 텃밭을 시작하신다면, 토양 준비가 최우선 과제입니다. 많은 텃밭은 단단하게 다져진 점토질 토양에 이전 정원사들이 남긴 쓰레기와 잡초가 무성합니다. 흙을 부드럽게 하고, 잡초를 초기에 제거하며, 퇴비를 넣어 배수와 영양분을 개선하세요. 건강한 토양은 온타리오에서 성공적인 도시 텃밭 가꾸기의 기초입니다.
오랜 시간 쪼그리고 앉아 잡초를 뽑고 흙을 갈고 난 후, 드디어 심을 준비가 되었습니다. 저는 온갖 아이디어를 떠올렸죠. 새롭게 갈아엎은 6x9피트 크기의 밭에 포도, 오이, 토마토, 고추, 꽃, 가지, 옥수수, 딸기를 심었습니다. 하지만 밭의 환경, 햇볕, 토양의 질에 대해서는 잘 알지 못했습니다. 경험 부족, 침수, 강한 햇볕, 그리고 들쥐 때문에 모든 모종, 꽃, 구근이 한 계절을 제대로 버티지 못하고 시들어 버렸습니다!
정원 가꾸기 첫해에서 얻은 교훈
토론토에서 텃밭 가꾸기를 성공적으로 하려면 토양 준비가 가장 중요합니다. 토양 준비가 제대로 되지 않으면 아무리 키우기 쉬운 작물이라도 제대로 자라지 못합니다. 특히 온타리오처럼 재배 기간이 짧은 지역에서는 생육 초기에 토양에 시간을 투자하는 것이 나중에 더 좋은 결과를 가져온다는 것을 금방 알게 되었습니다.
팁 #3: 처음에는 작게 시작하세요. 그러면 정원이 관리하기 쉽고 부담스럽지 않게 느껴질 것입니다.꾸준함이야말로 작은 땅을 생산적인 텃밭으로 바꿔주는 비결입니다.
토론토나 온타리오 어디에서든 텃밭을 가꾸는 것을 고려하고 있다면, 작은 규모로 시작해서 차근차근 배워나가는 것이 가장 좋습니다. 토양의 질에 집중하고, 재배하기 쉬운 작물을 선택하며, 꾸준한 습관을 들이세요. 시간이 흐르면서 텃밭 관리가 더 쉬워지고 보람도 커질 것입니다.
규칙적인 물주기, 토양 상태 관찰, 잡초 제거는 특히 처음 정원을 가꾸는 경우 건강한 정원을 유지하는 데 필수적인 요소입니다. 제가 토론토의 기후에서 배운 것은 더운 날씨에 며칠만 물주기를 거르면 식물 성장은 물론이고 텃밭에서 나는 풍성한 열매를 즐기는 동물들에게도 악영향을 미칠 수 있다는 점입니다.
팁 #4:초보자는 재배하기 쉬운 작물을 선택하세요. 허가 조건에 따라 물 사용이 제한될 수 있습니다.
물 사용 허가는 5월 중순부터 시작되며, 이때부터 텃밭에 물을 공급할 수 있습니다. 만약 모종을 키우는 데 물이 필수적이라면, 텃밭은 최적의 장소가 아닐 수 있습니다. 일조량에 따라 관리가 쉬운 작물이 이상적입니다. 또한, 너무 많은 영양분을 필요로 하는 작물을 고르기보다는 비슷한 수준의 영양분을 요구하는 작물을 선택하는 것이 좋습니다. 예를 들어, 배수가 잘 되는 토양을 선호하는 작물과 물을 많이 줘야 잘 자라는 작물을 비교하는 것이 효과적입니다.
팁 #5: 심은 작물을 기록해 두면 다음 시즌에 어떤 작물이 가장 효과적인지 알 수 있습니다.
토론토에서 텃밭을 가꾸는 가장 큰 장점 중 하나는 단순히 직접 음식을 재배하는 것뿐만 아니라, 규칙적인 생활과 자연과의 교감입니다. 하루에 몇 분이라도 텃밭에서 시간을 보내는 것은 생산적이면서도 마음을 편안하게 해 줄 수 있습니다. 계절의 변화와 토양에 필요한 것들을 꼼꼼히 살펴보세요.
첫 1년간의 시행착오 끝에 토론토의 텃밭에서 무엇이 효과적인지 이해하기 시작했습니다. 햇빛, 토양 배수, 그리고 작물 선택이 모든 것을 좌우했습니다. 토마토, 가지, 옥수수는 잘 자랐지만, 다른 작물들은 환경이 맞지 않으면 제대로 자라지 못했습니다. 온타리오에서 텃밭을 시작한다면 시행착오를 겪어야 할 것입니다. 하지만 올바른 접근 방식을 취한다면 직접 음식을 재배하는 가장 보람 있는 방법 중 하나가 될 것입니다.
자주 묻는 질문(FAQ): 토론토 개인 텃밭
● 토론토 텃밭 신청 대기 기간은 얼마나 되나요?
대기 기간은 지역에 따라 다르지만 수요에 따라 1년에서 5년까지 걸릴 수 있습니다.
● 토론토에서 텃밭 가꾸기 시즌은 언제 시작되나요?
대부분의 허가는 5월 중순에 시작하여 재배 기간 내내 유효합니다.
● 토론토의 텃밭에서 잘 자라는 작물은 무엇일까요?
토마토, 고추, 애호박, 콩, 허브는 온타리오 기후에서 잘 자라는 경향이 있습니다.