Small Steps, Big FLAVORS… making chicken DONburi (oyakodon)
There is something quiet satisfying about making a bow of chicken donburi (Oyakodon) from scratch, but for us, this carries something deeper. My parents owned a Japanese and Korean restaurant for many decades, where this was a very popular dish and associated with the sounds of simmering broths, clattering pans, and chatter of new and in progress order statuses.
Coming back to this bowl now as an adult, it pulls at those memories and the smell of the soy and dashi, the softness of the egg, and the onions with the slight bite, all feels so familiar and the sense of nostalgia resurface through each step.
There are no fancy techniques required. Just taking small steps, which build this dish into something deeply comforting and full of flavor.
Let’s walk through it together. This will make a serving of two.
Step 1: Start with Marinating the Chicken
You will need 2 boneless, skinless chicken thigh, cut it into bite-sized chunks—roughly 1 to 1.5 inches. Try to keep them uniform for even cooking. We then place them into a bag with about ½ cup of milk and pinch of salt (or soy sauce) and allow it to marinate for about 1-4 hours.
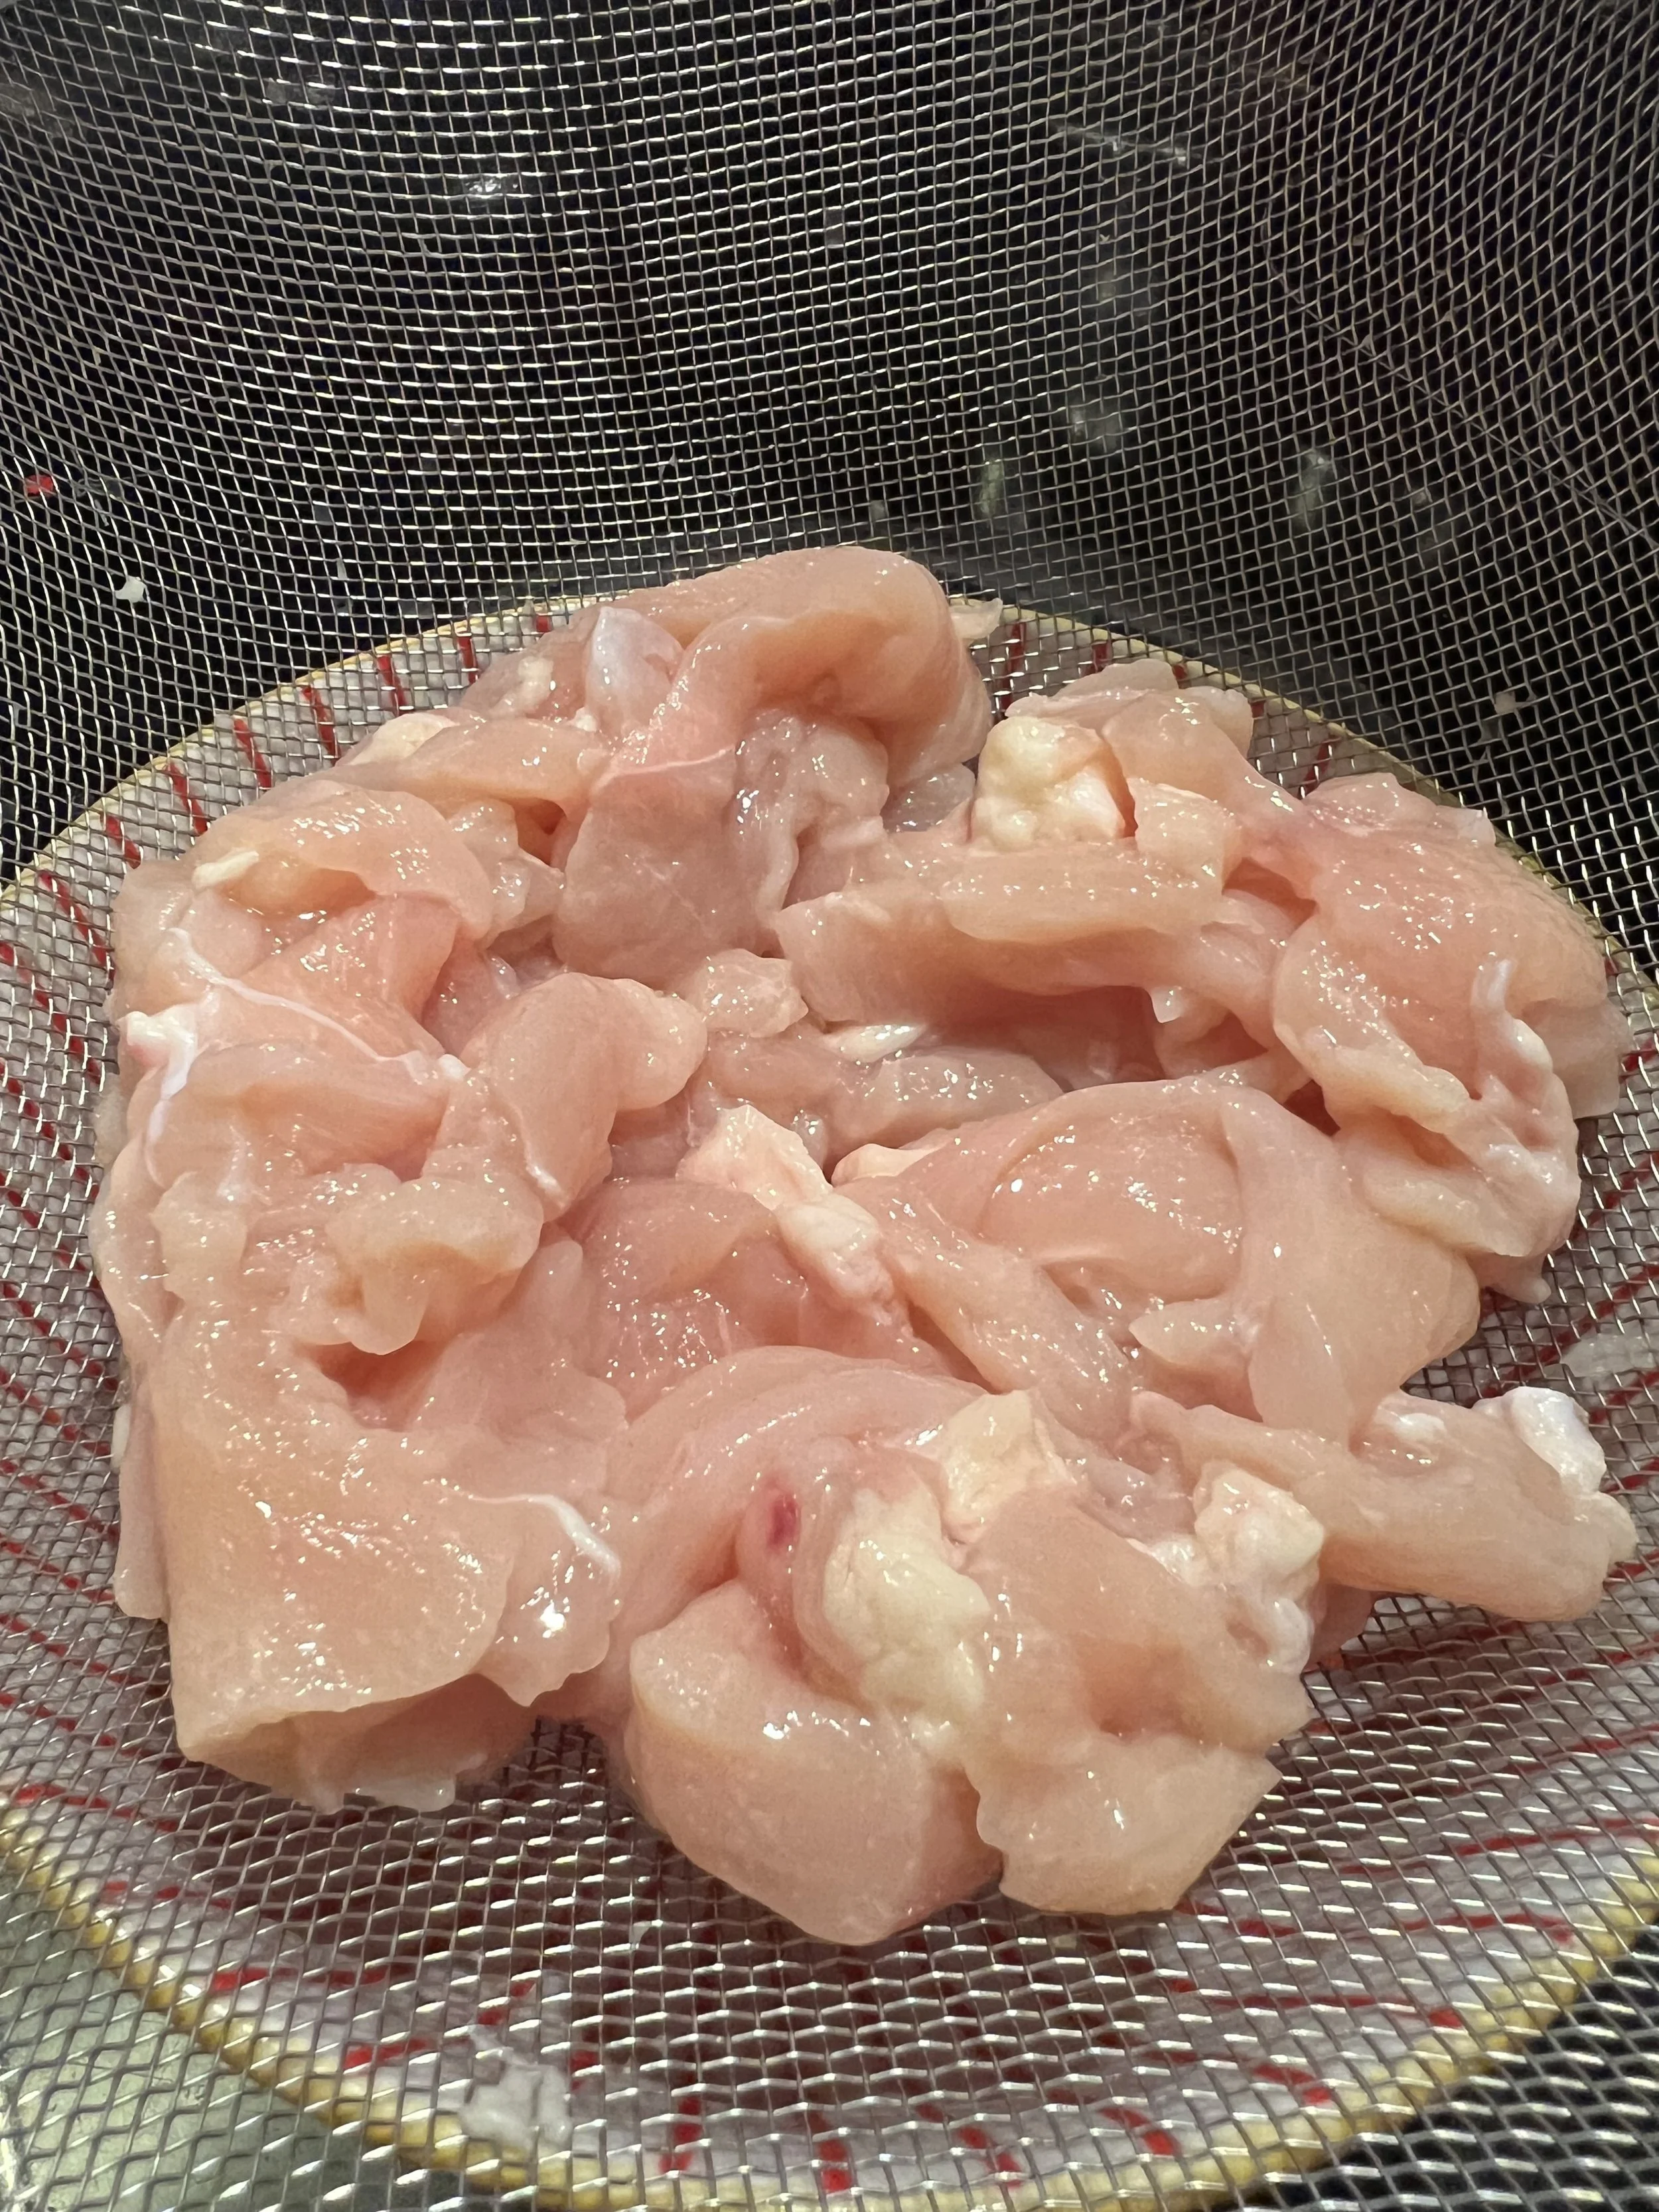
Marinade drained and chicken ready to cook for step #3.
Step 2: Making the Rice
Good donburi always begins with properly cooked Japanese short-grain rice. This is not the time to skip rinsing. We wash our rice at least three times or more (basically until the water runs clear).
Measure about 1 cup of rice (enough for 2 servings) and rinse it under cold water. Gently swirl the grains with your fingers, then drain. Repeat this process 3–5 times until the water runs mostly clear. This removes excess surface starch and prevents the rice from becoming overly sticky or gummy.
Once rinsed, let the rice sit in fresh water for about 20–30 minutes before cooking. This hydration step helps the grains cook evenly from the inside out.
Cook the rice using a rice cooker or stovetop with a 1:1.1 ratio of rice to water. Once done, let it rest for 10 minutes with the lid on. Do not stir immediately—this resting phase finishes the texture.
Small step, big impact: properly rinsed and rested rice creates the foundation for everything else.
Step 3: Prepare the Ingredients
While the rice cooks, prep your toppings and the sauce.
You will need:
- 2 eggs (beaten)
- ½ to 1 yellow onion
- ½ cup dashi stock
- 2 tablespoons soy sauce
- 2 tablespoons mirin
- 1 to 2 teaspoons sugar (adjust to taste)
- 1 to 2 teaspoons red pepper flakes (optional, adjust to taste)
Slice the onion thinly, aiming for even pieces so they cook at the same rate.
Crack the eggs into a bowl and lightly beat them. Do not overmix. You want some variation between yolk and white so the final dish has a soft, layered texture rather than a uniform scramble.
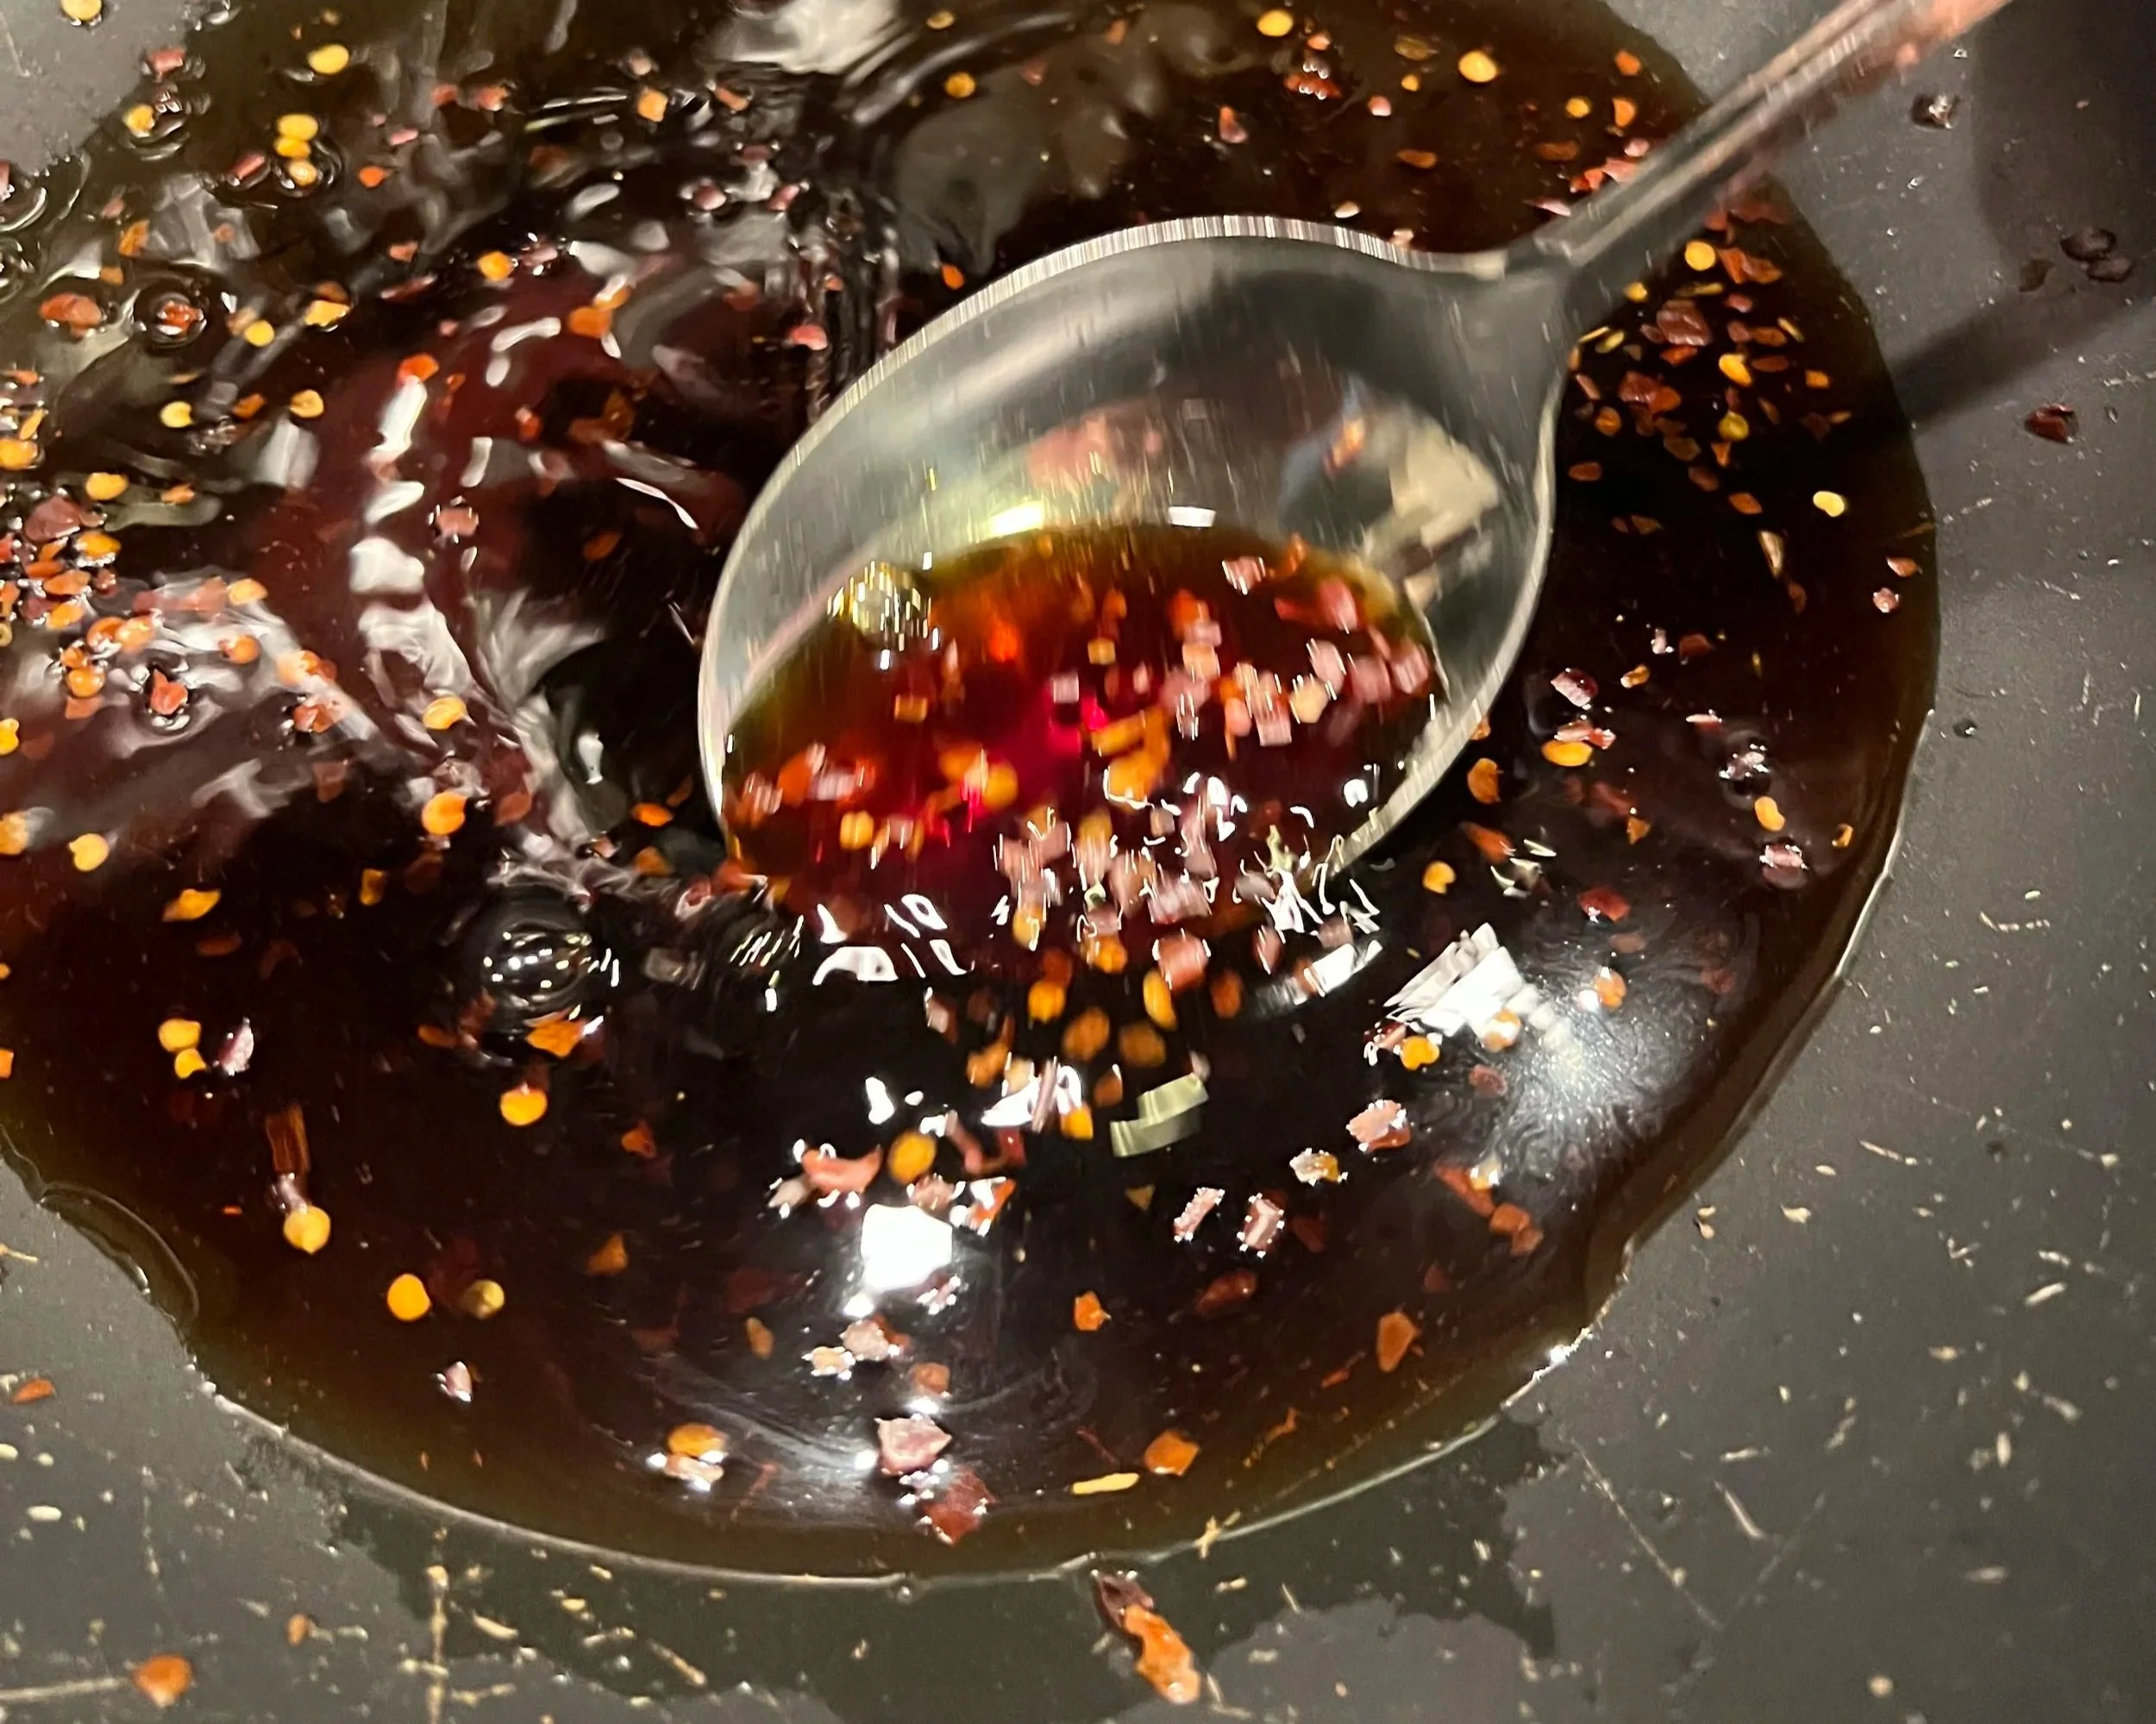
Step 4: Build the Broth Base
In a shallow pan or small skillet, combine the dashi, soy sauce, mirin, and sugar. Bring it to a gentle simmer over medium heat.
Taste the broth. It should be balanced—savory, slightly sweet, and rich but not overpowering. Adjust if needed by adding a bit more soy sauce or sugar depending on your preference.
Once the broth is simmering, add the sliced onions. Let them cook for 2–3 minutes until they begin to soften and turn translucent.
This step is important. The onions absorb the broth and become part of the flavor base, rather than just sitting on top of the dish.
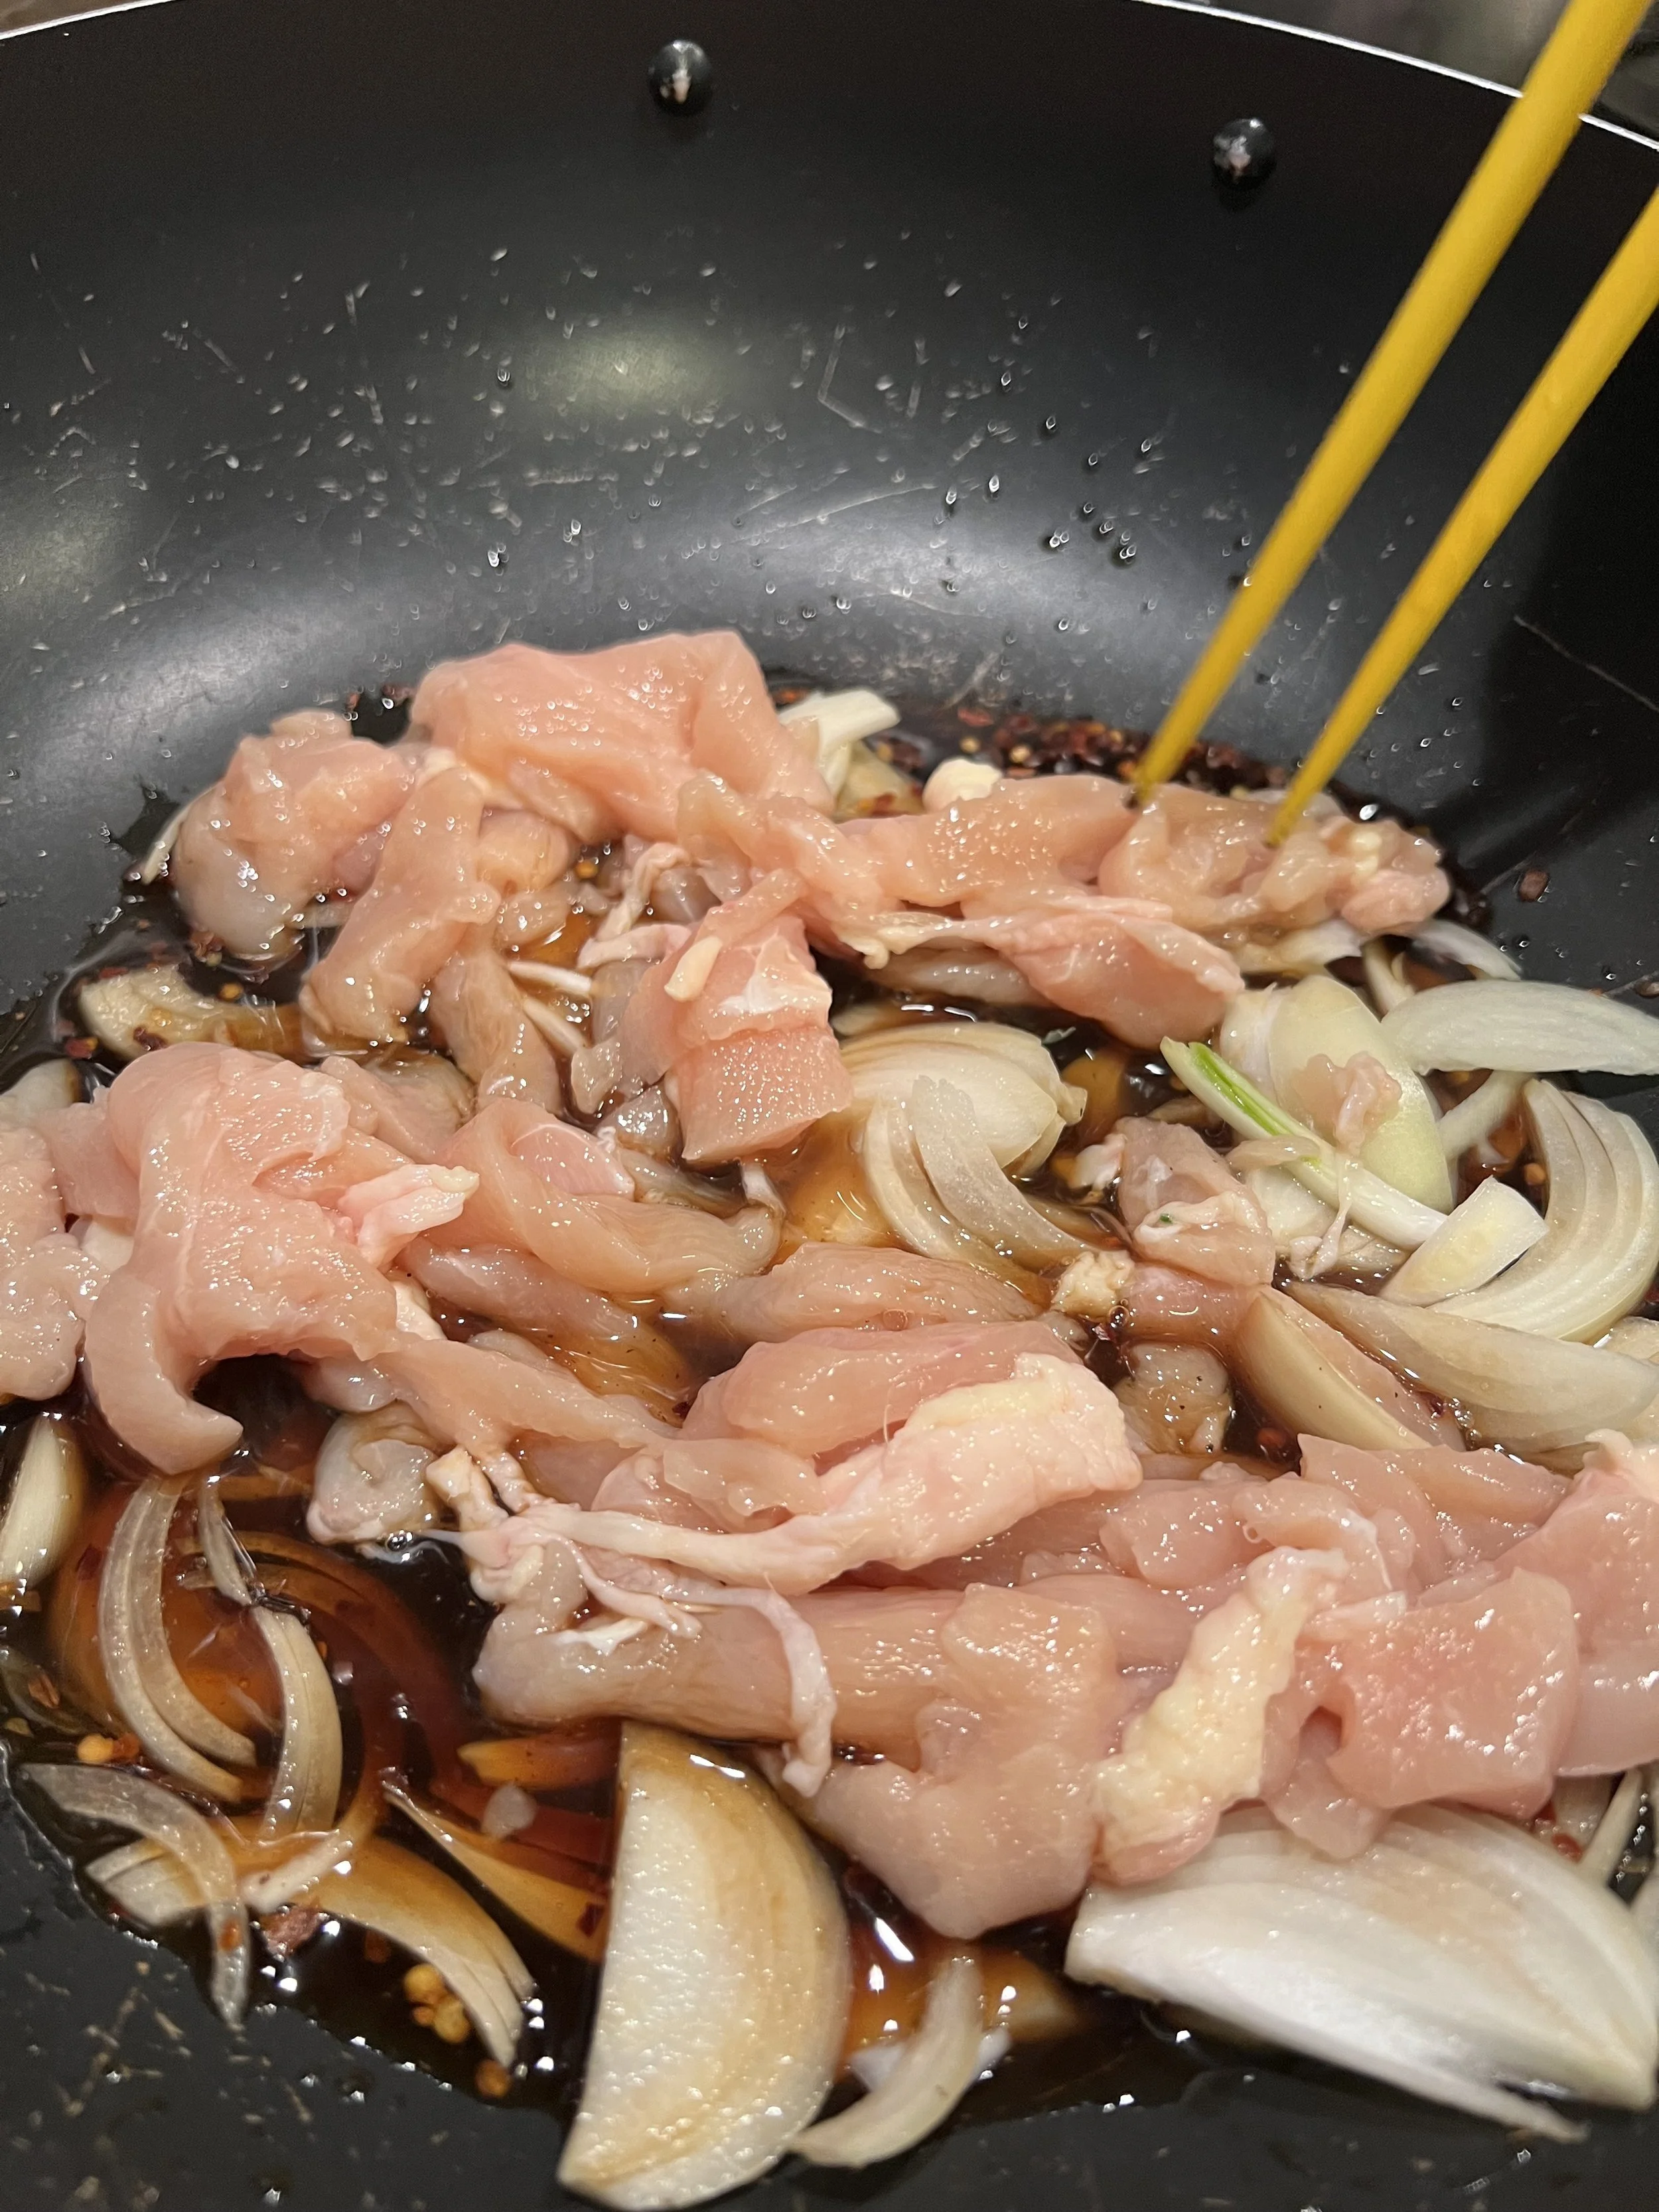
Step 5: Cook the Chicken Gently
Add the chicken pieces directly into the simmering broth and onions. Spread them out evenly so they cook at the same rate.
Keep the heat at a gentle simmer—not a rapid boil. Cooking too aggressively will toughen the chicken and reduce the broth too quickly.
Let the chicken cook for about 5–7 minutes, turning once if needed. As it cooks, it will absorb the flavors of the broth while also releasing its own juices back into the pan.
You will notice the broth becoming slightly richer and more aromatic. That is exactly what you want.
Small step: controlling the heat ensures tender chicken and a balanced sauce.
Step 6: Add the Eggs with Intention
This is the defining moment of chicken donburi.

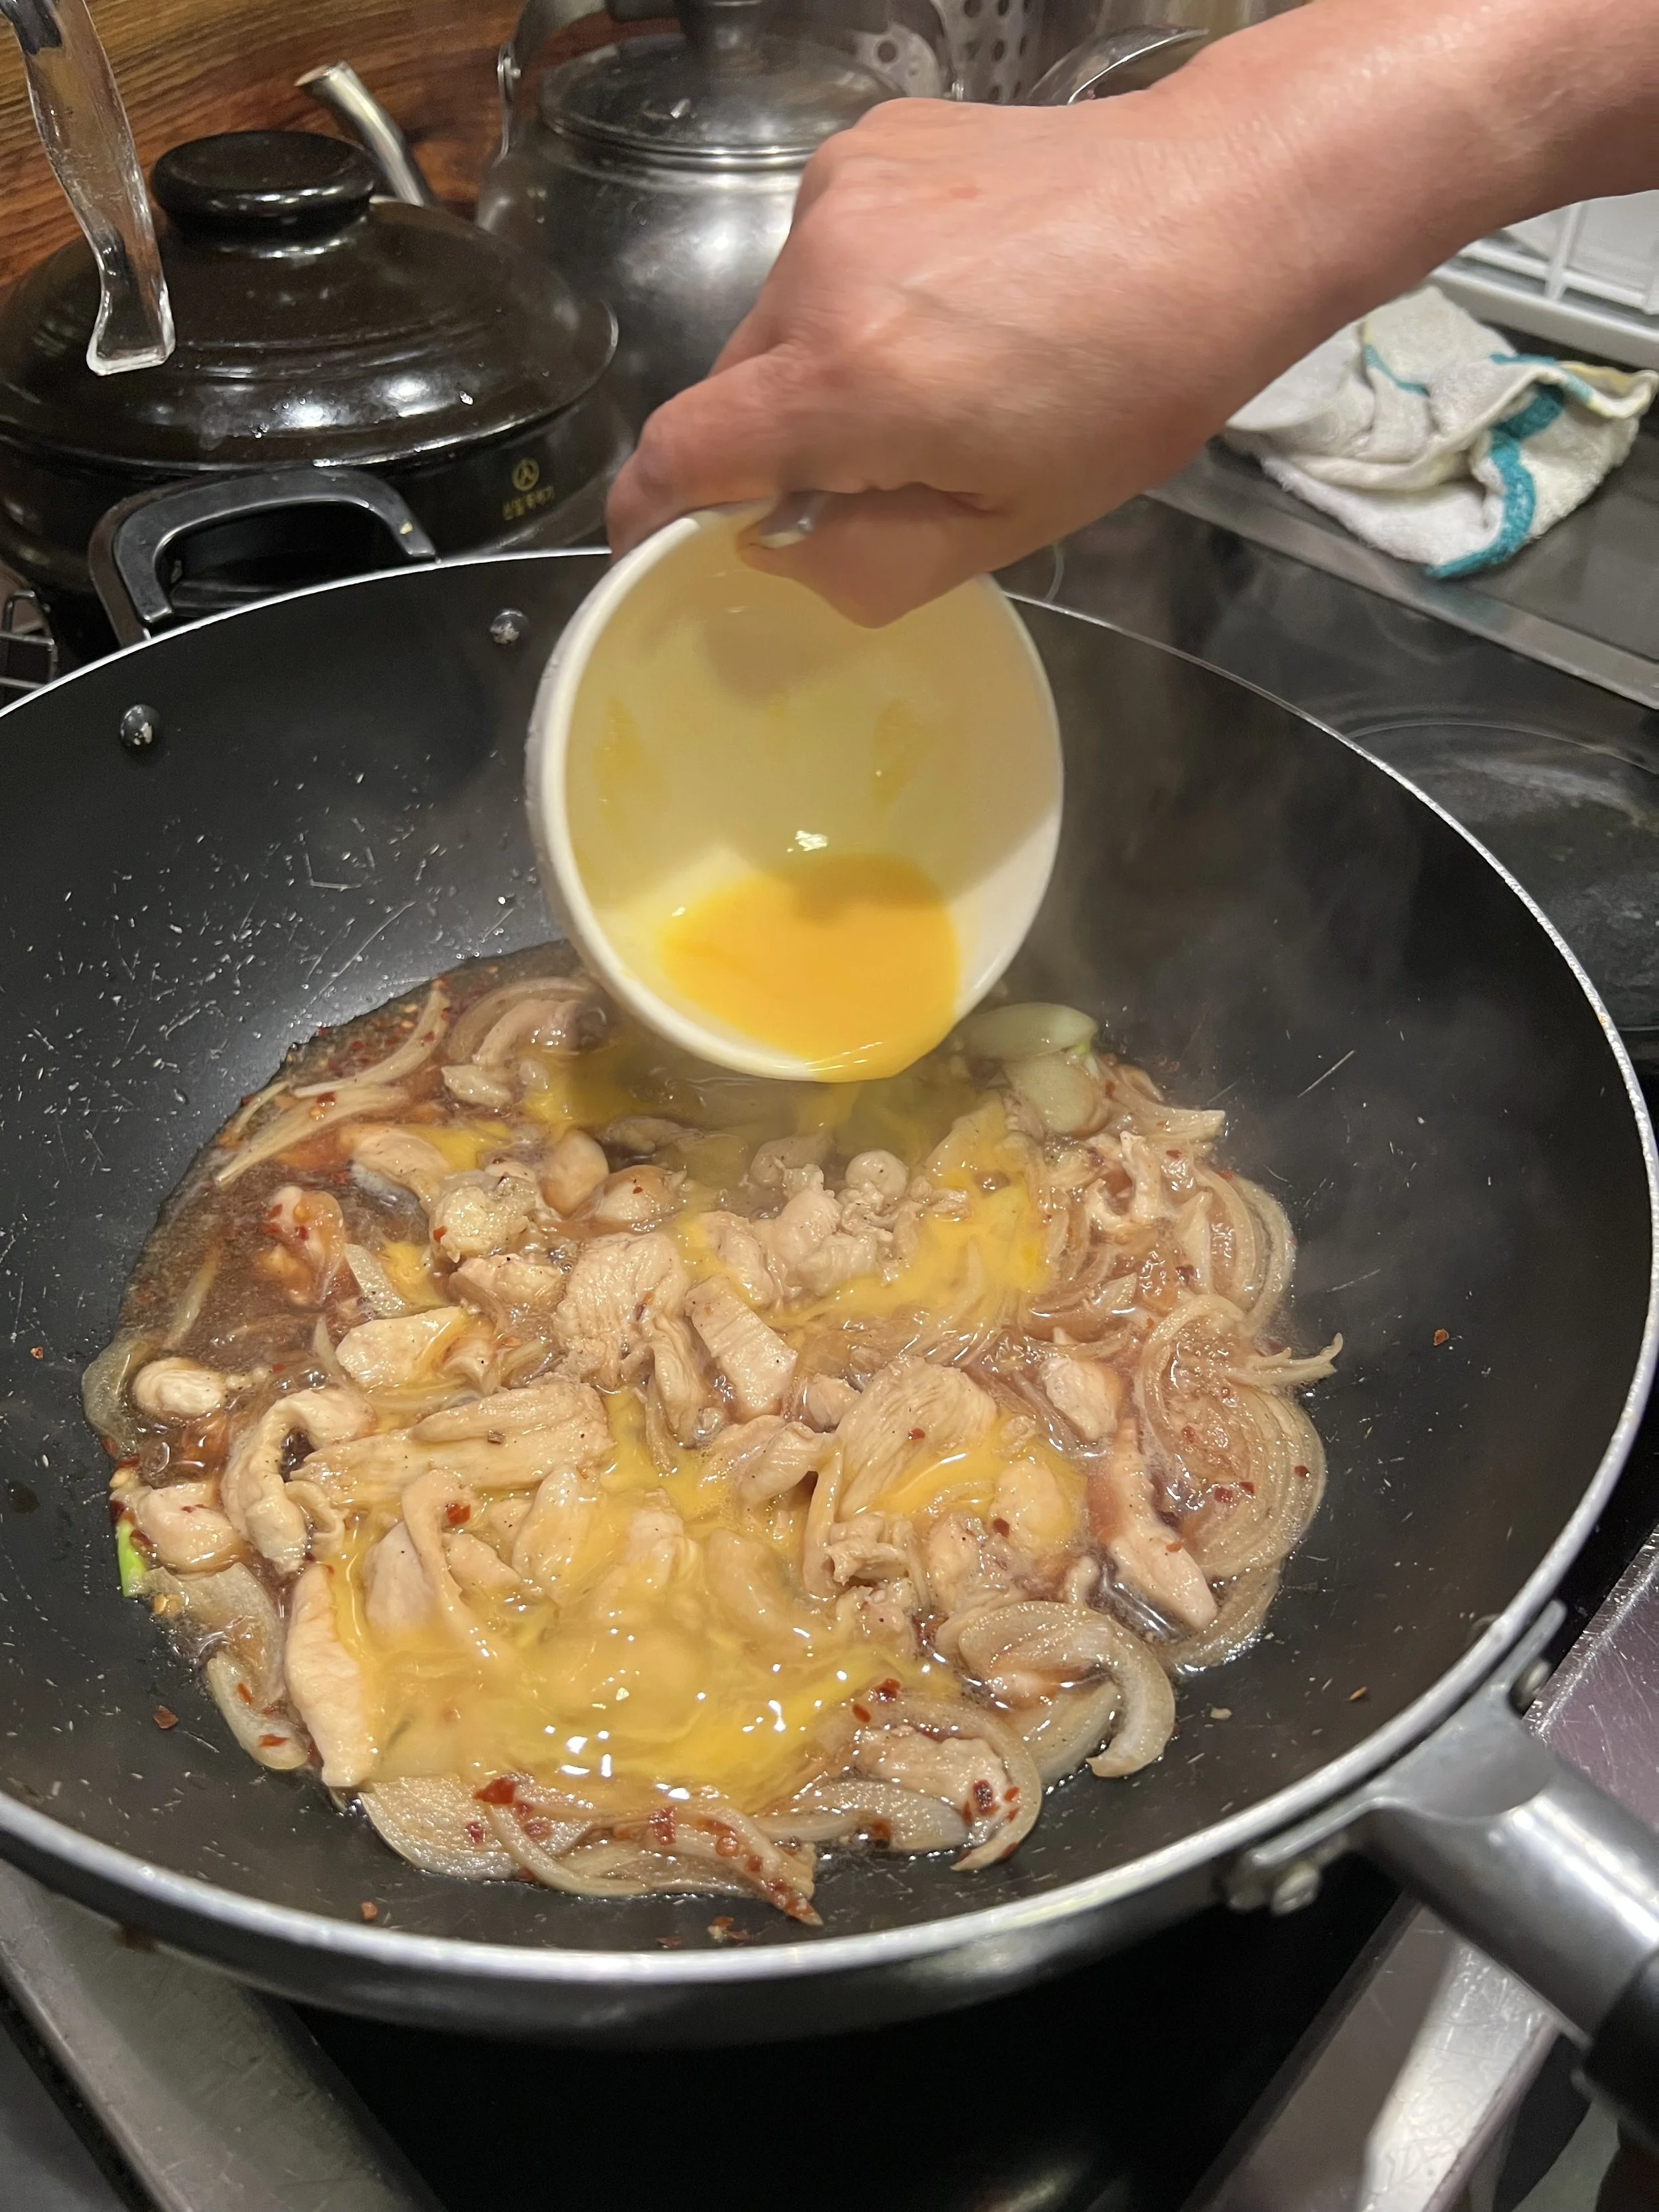
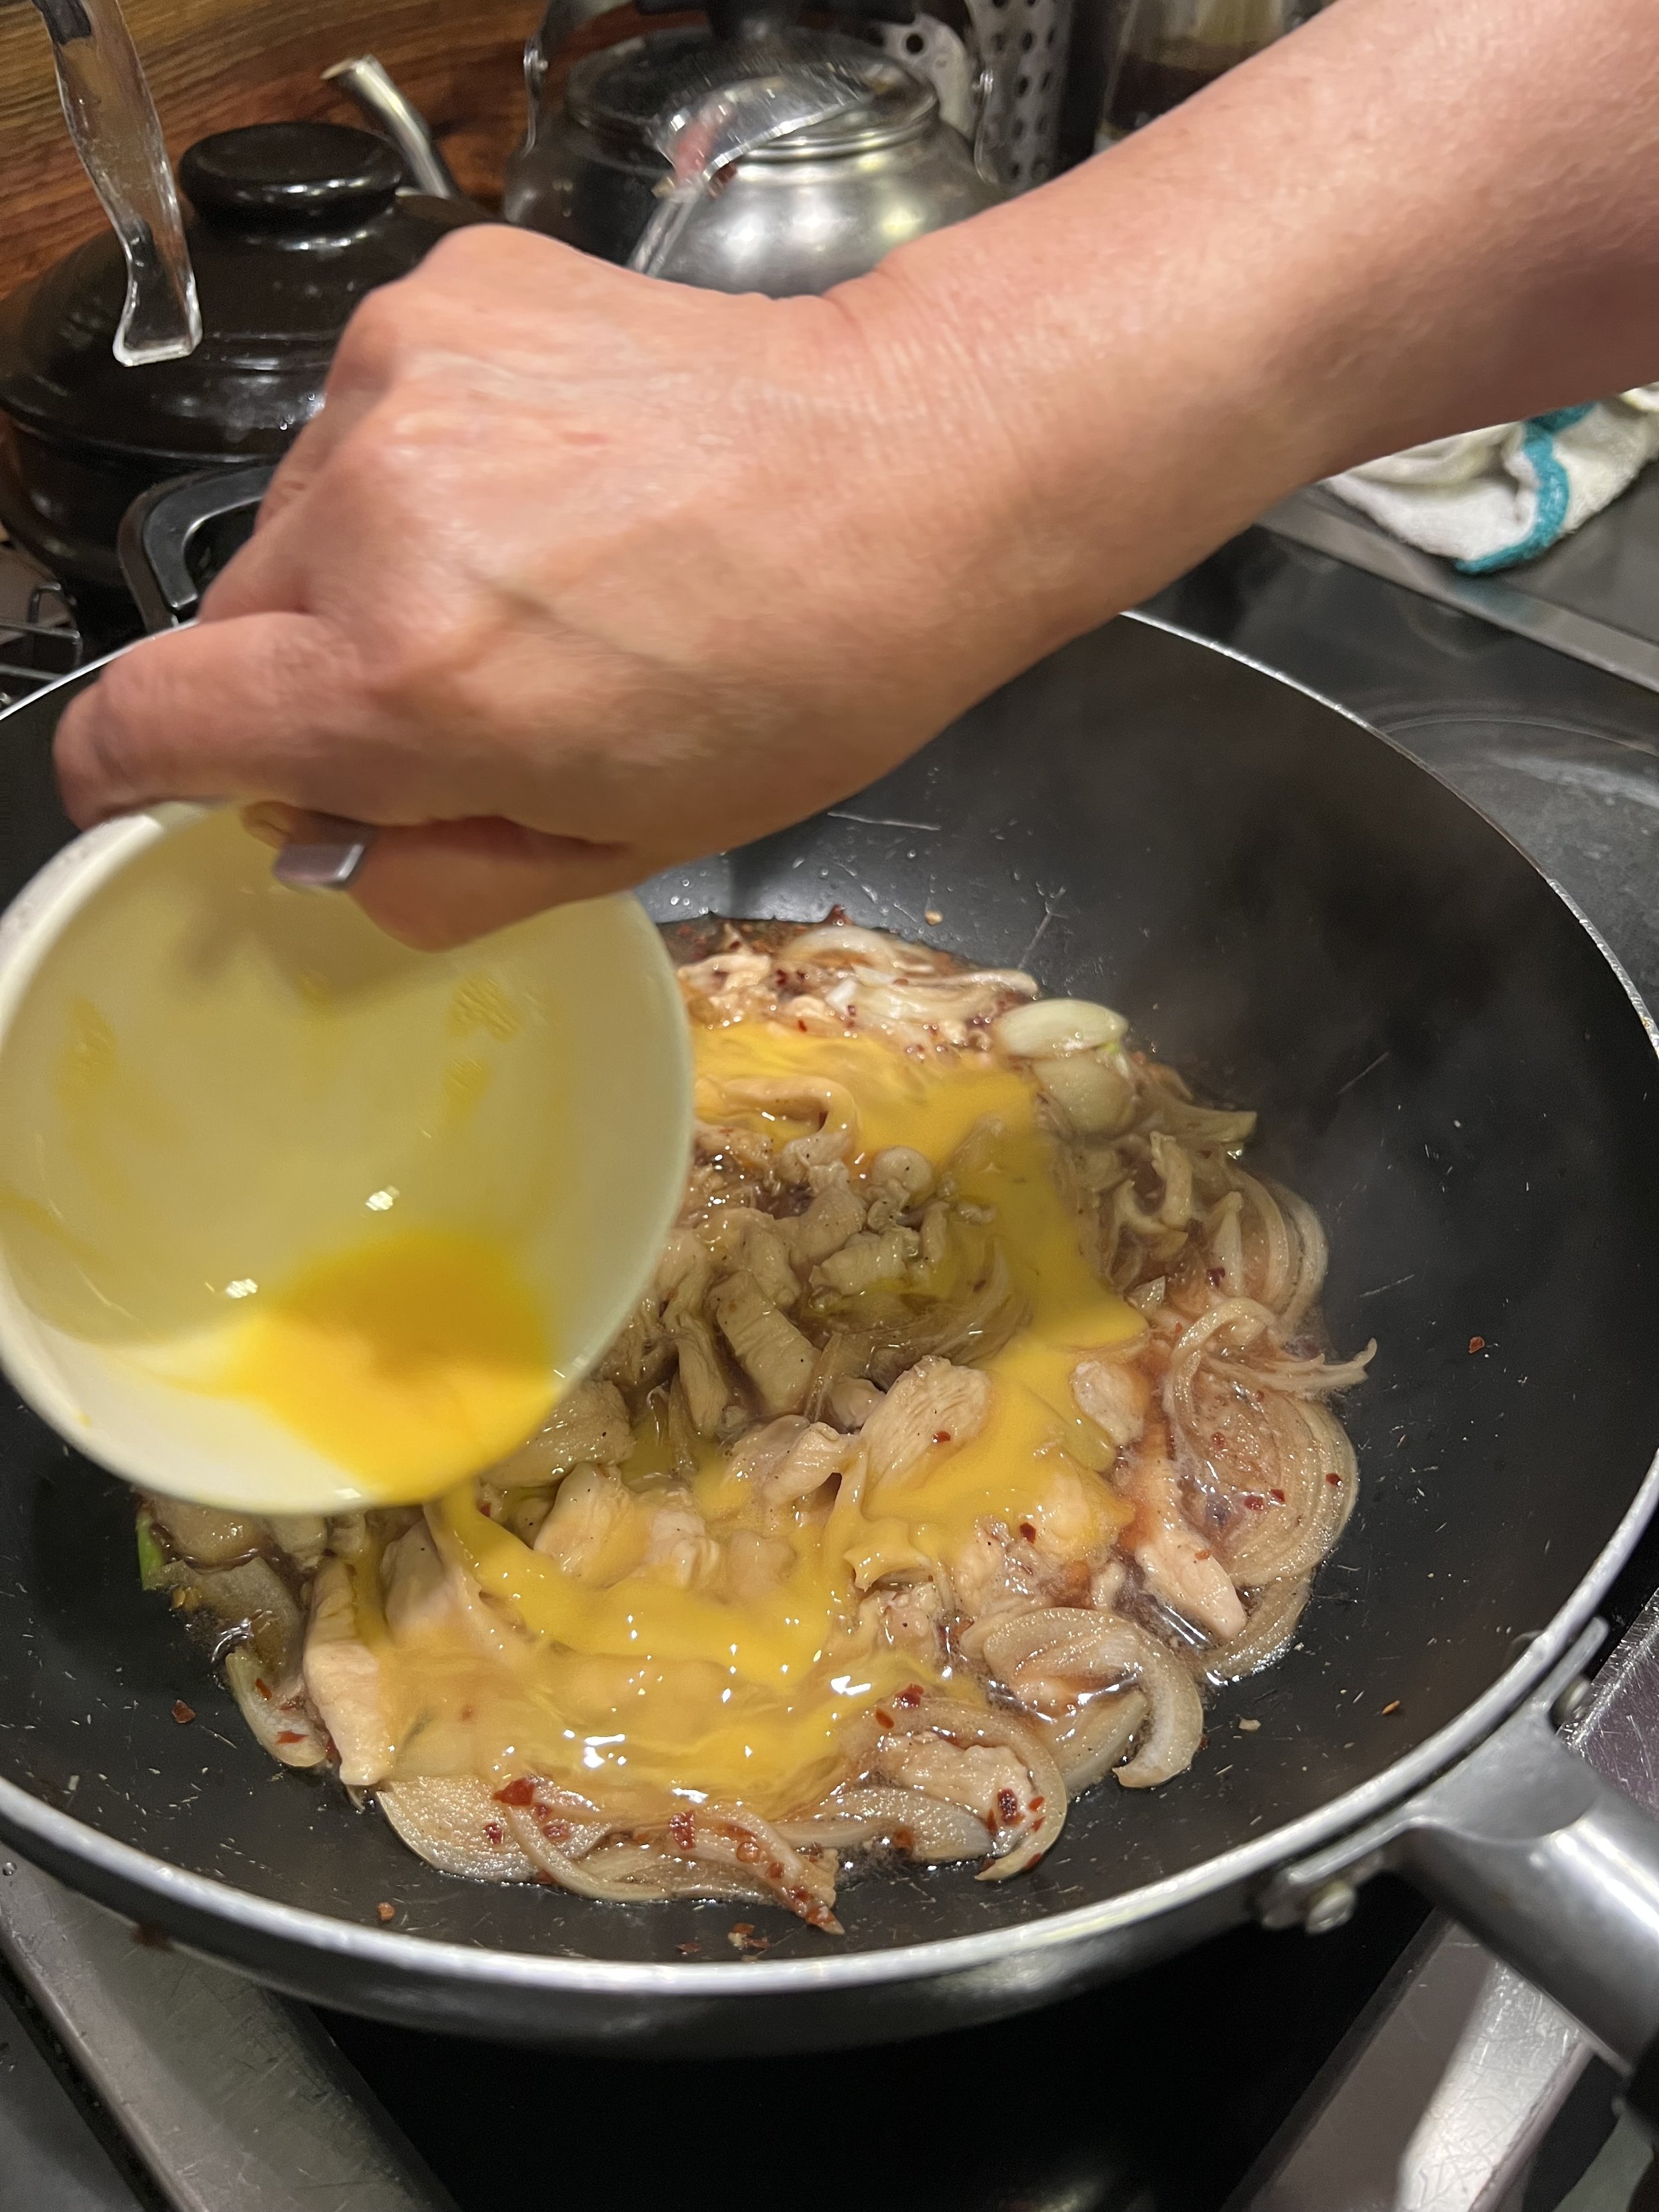
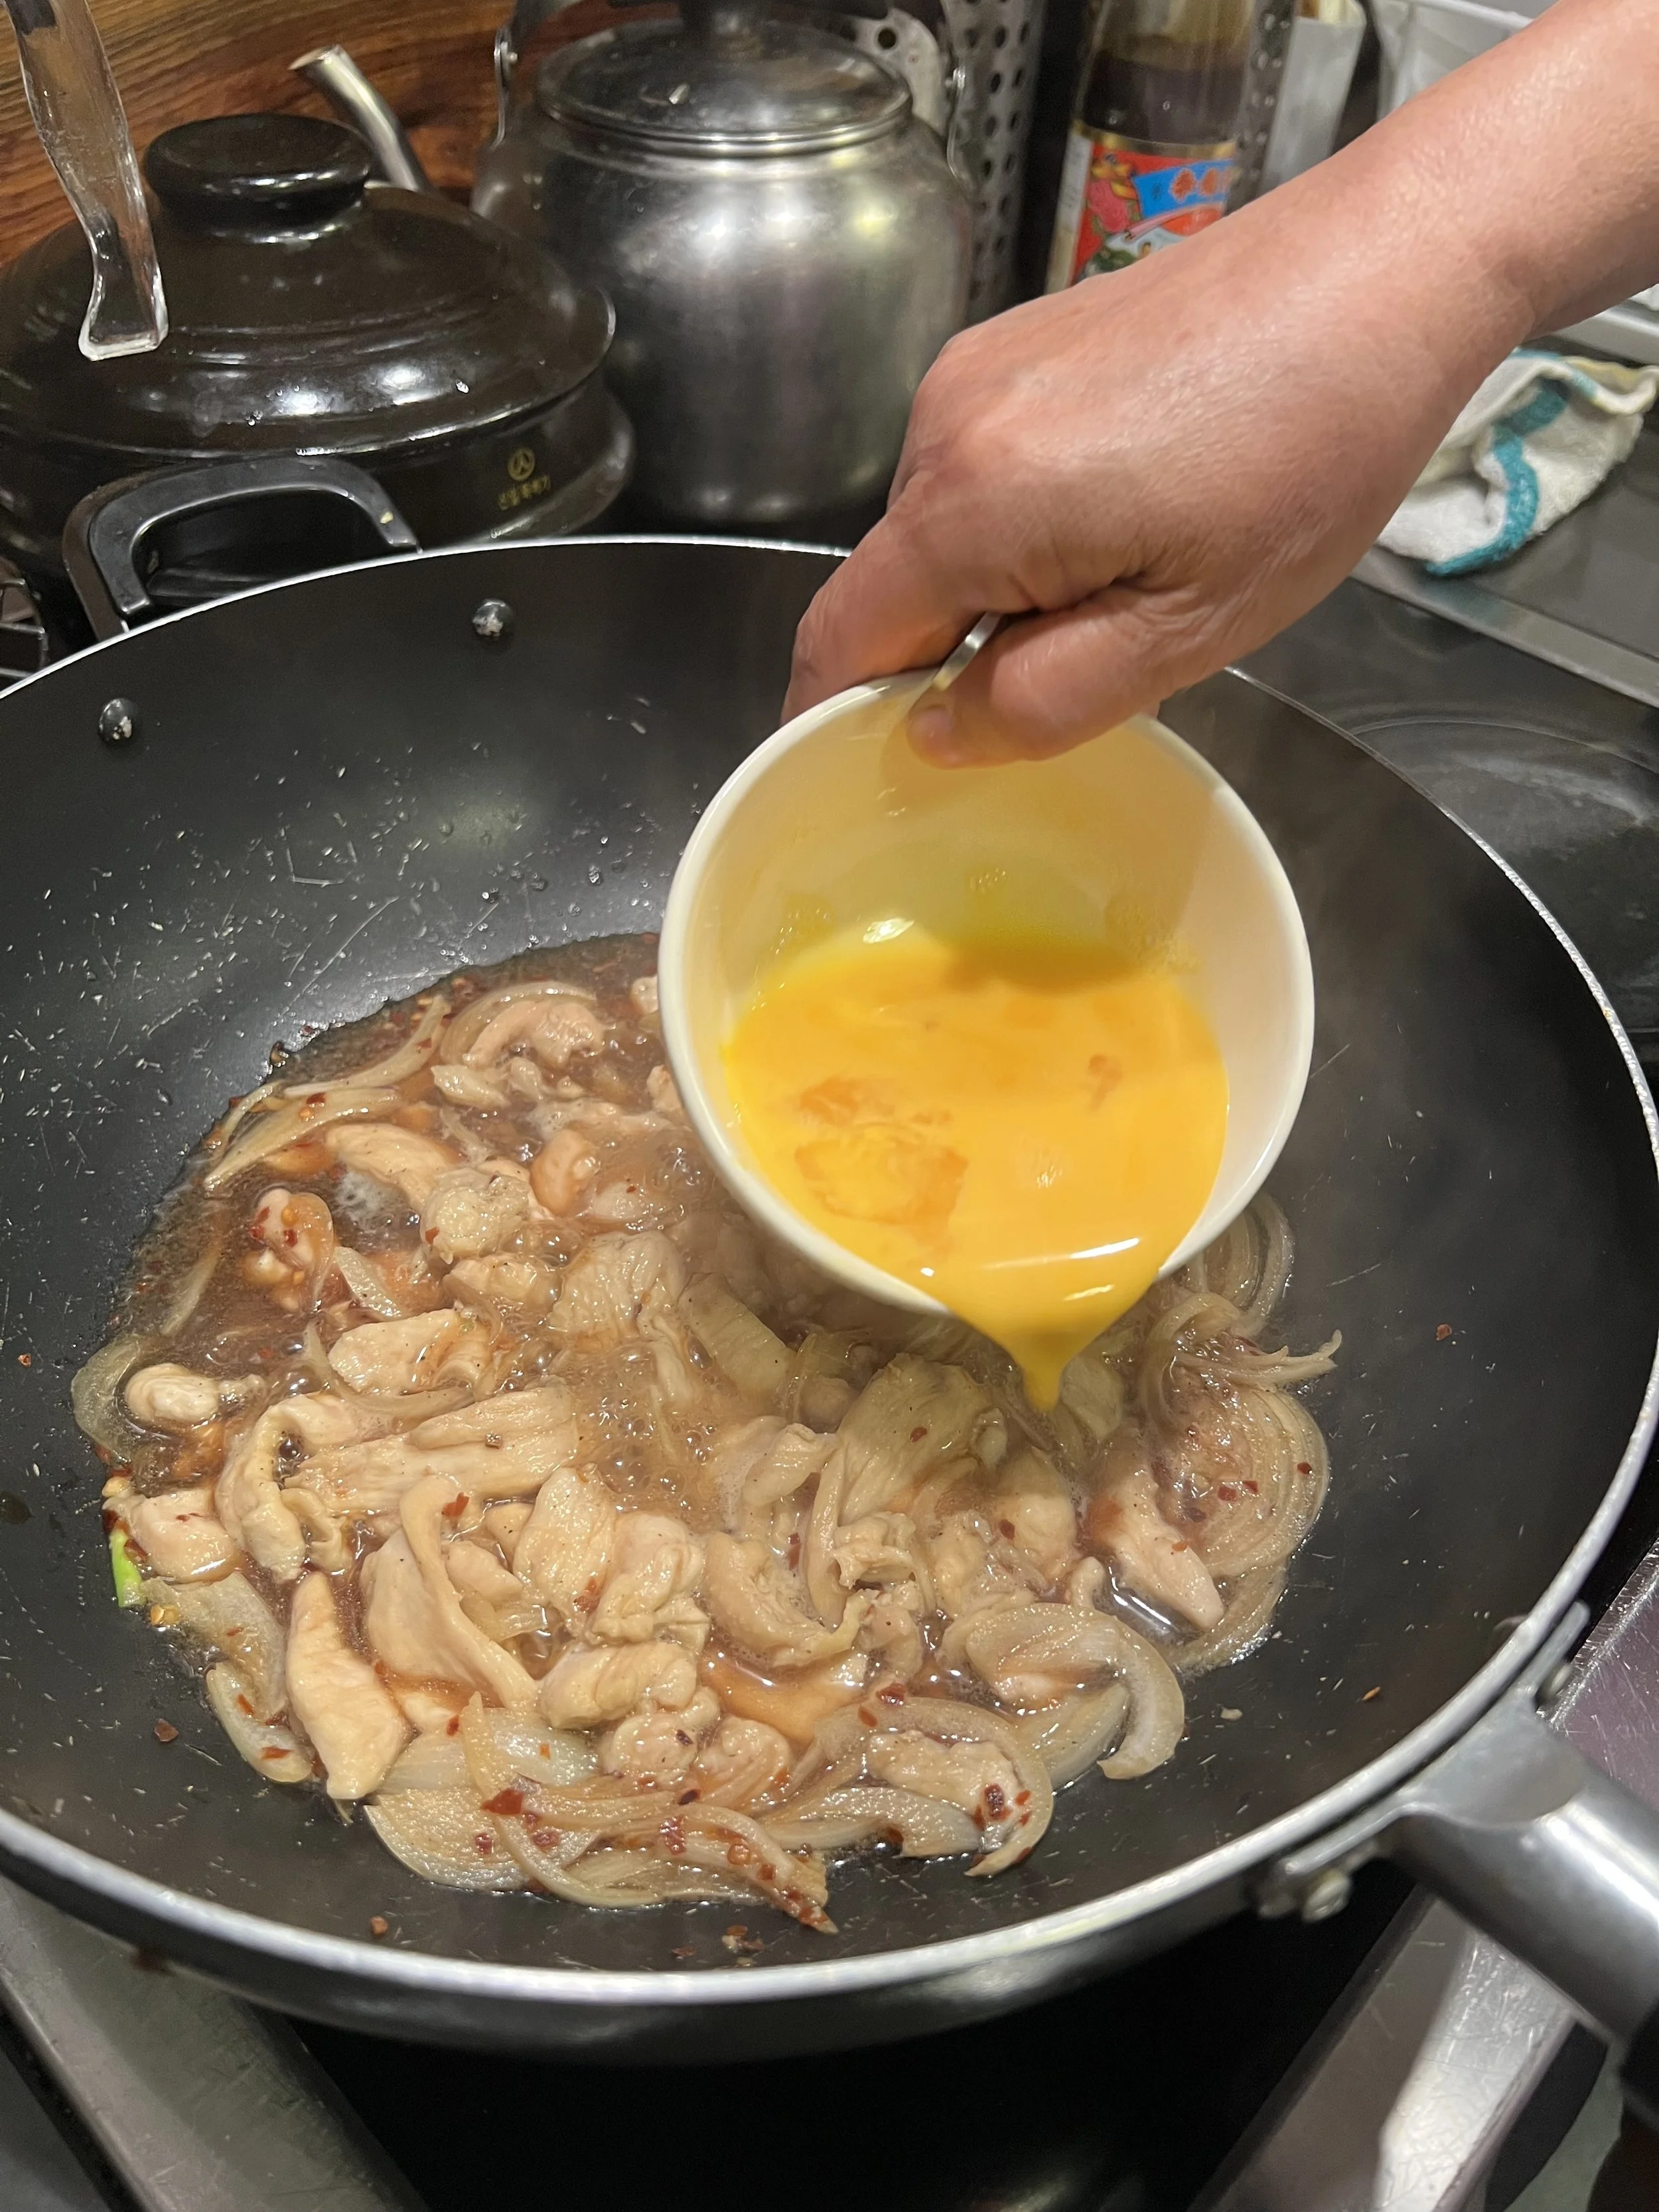
Once the chicken is fully cooked, reduce the heat slightly. Pour the beaten eggs evenly over the chicken and onions. Do not stir.
Let the eggs cook gently. Some parts will set quickly, forming soft ribbons, while others remain slightly runny. For best results, cover the pan with a lid for about 30–60 seconds to allow steam to finish cooking the top layer.
The goal is a soft, custardy texture—not fully scrambled eggs.
If you prefer a slightly firmer texture, cook it a bit longer. If you want it more traditional, keep it slightly runny.
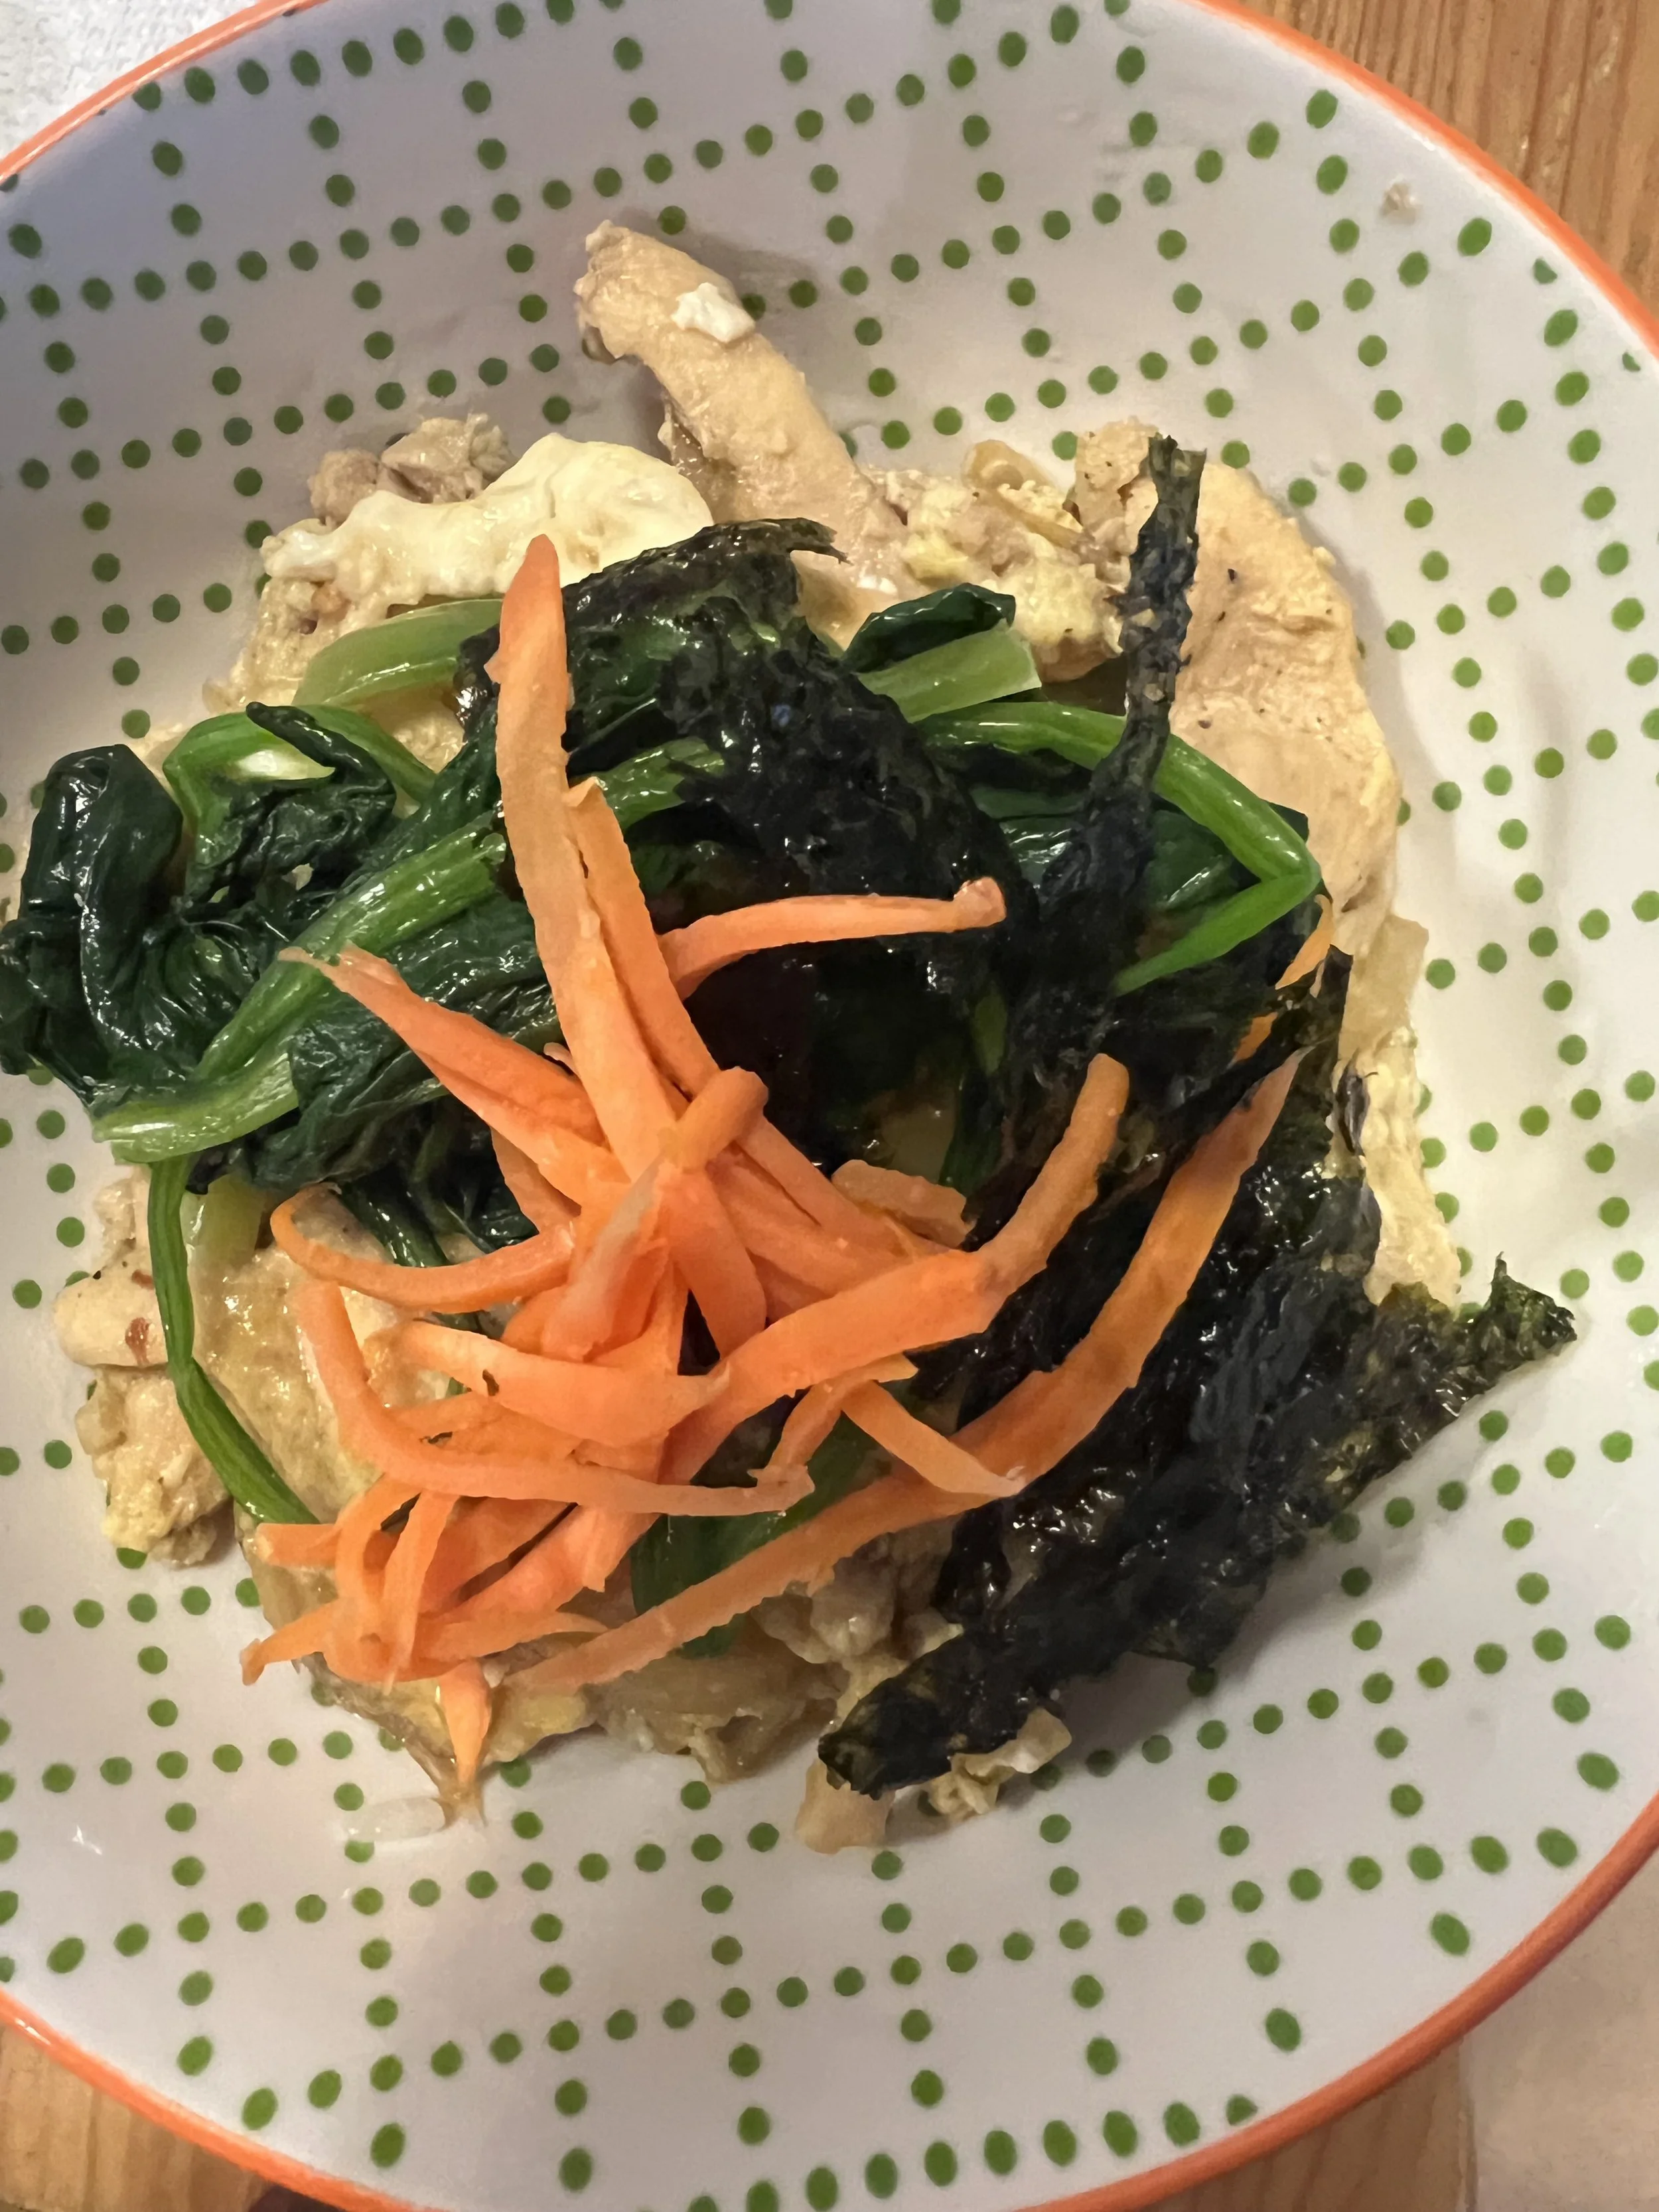
Step 7: Assemble the Bowl
By now, your rice should be ready.
Scoop a generous portion into a bowl. Fluff it lightly but do not press it down too much—you want the grains to stay airy.
Carefully transfer the chicken, egg, and onion mixture over the rice. Spoon some of the broth on top as well; it will soak into the rice and carry flavor throughout the bowl.
At this stage, you can optionally garnish with chopped green onions (or with other toppings of your choice).
What to Expect in Taste
A well-made chicken donburi should feel balanced and comforting.
- The rice should be soft but not mushy.
- The chicken should be tender and flavorful.
- The eggs should be silky and slightly custardy.
- The broth should lightly coat everything without drowning it.
Nothing should overpower the dish. Each component supports the others.
Why This Dish Works
Chicken donburi is often described as simple, but it is more accurate to say it is precise. Each step is straightforward, but skipping or rushing any one of them changes the final result.
- Skipping rice rinsing leads to heavy texture.
- Boiling too hard makes the chicken tough.
- Overcooking the eggs removes their softness.
- Under-seasoning the broth makes the dish flat.
The lesson here is not complexity—it is attention. When each small step is done thoughtfully, the final dish feels complete without needing anything extra.
It is complete in no time–if you rush this dish, you might finish in 15 minutes (but note, the eggs can be dry, or the chicken slightly rubbery, and the flavors less integrated).
If you take just a little more care—rinsing properly, controlling heat, adding eggs gently—you might spend 25 minutes instead. The difference in taste and texture is significant.
That is the idea behind “small steps, big flavours.” You are not adding more ingredients or techniques. You are simply doing the basics well.
***
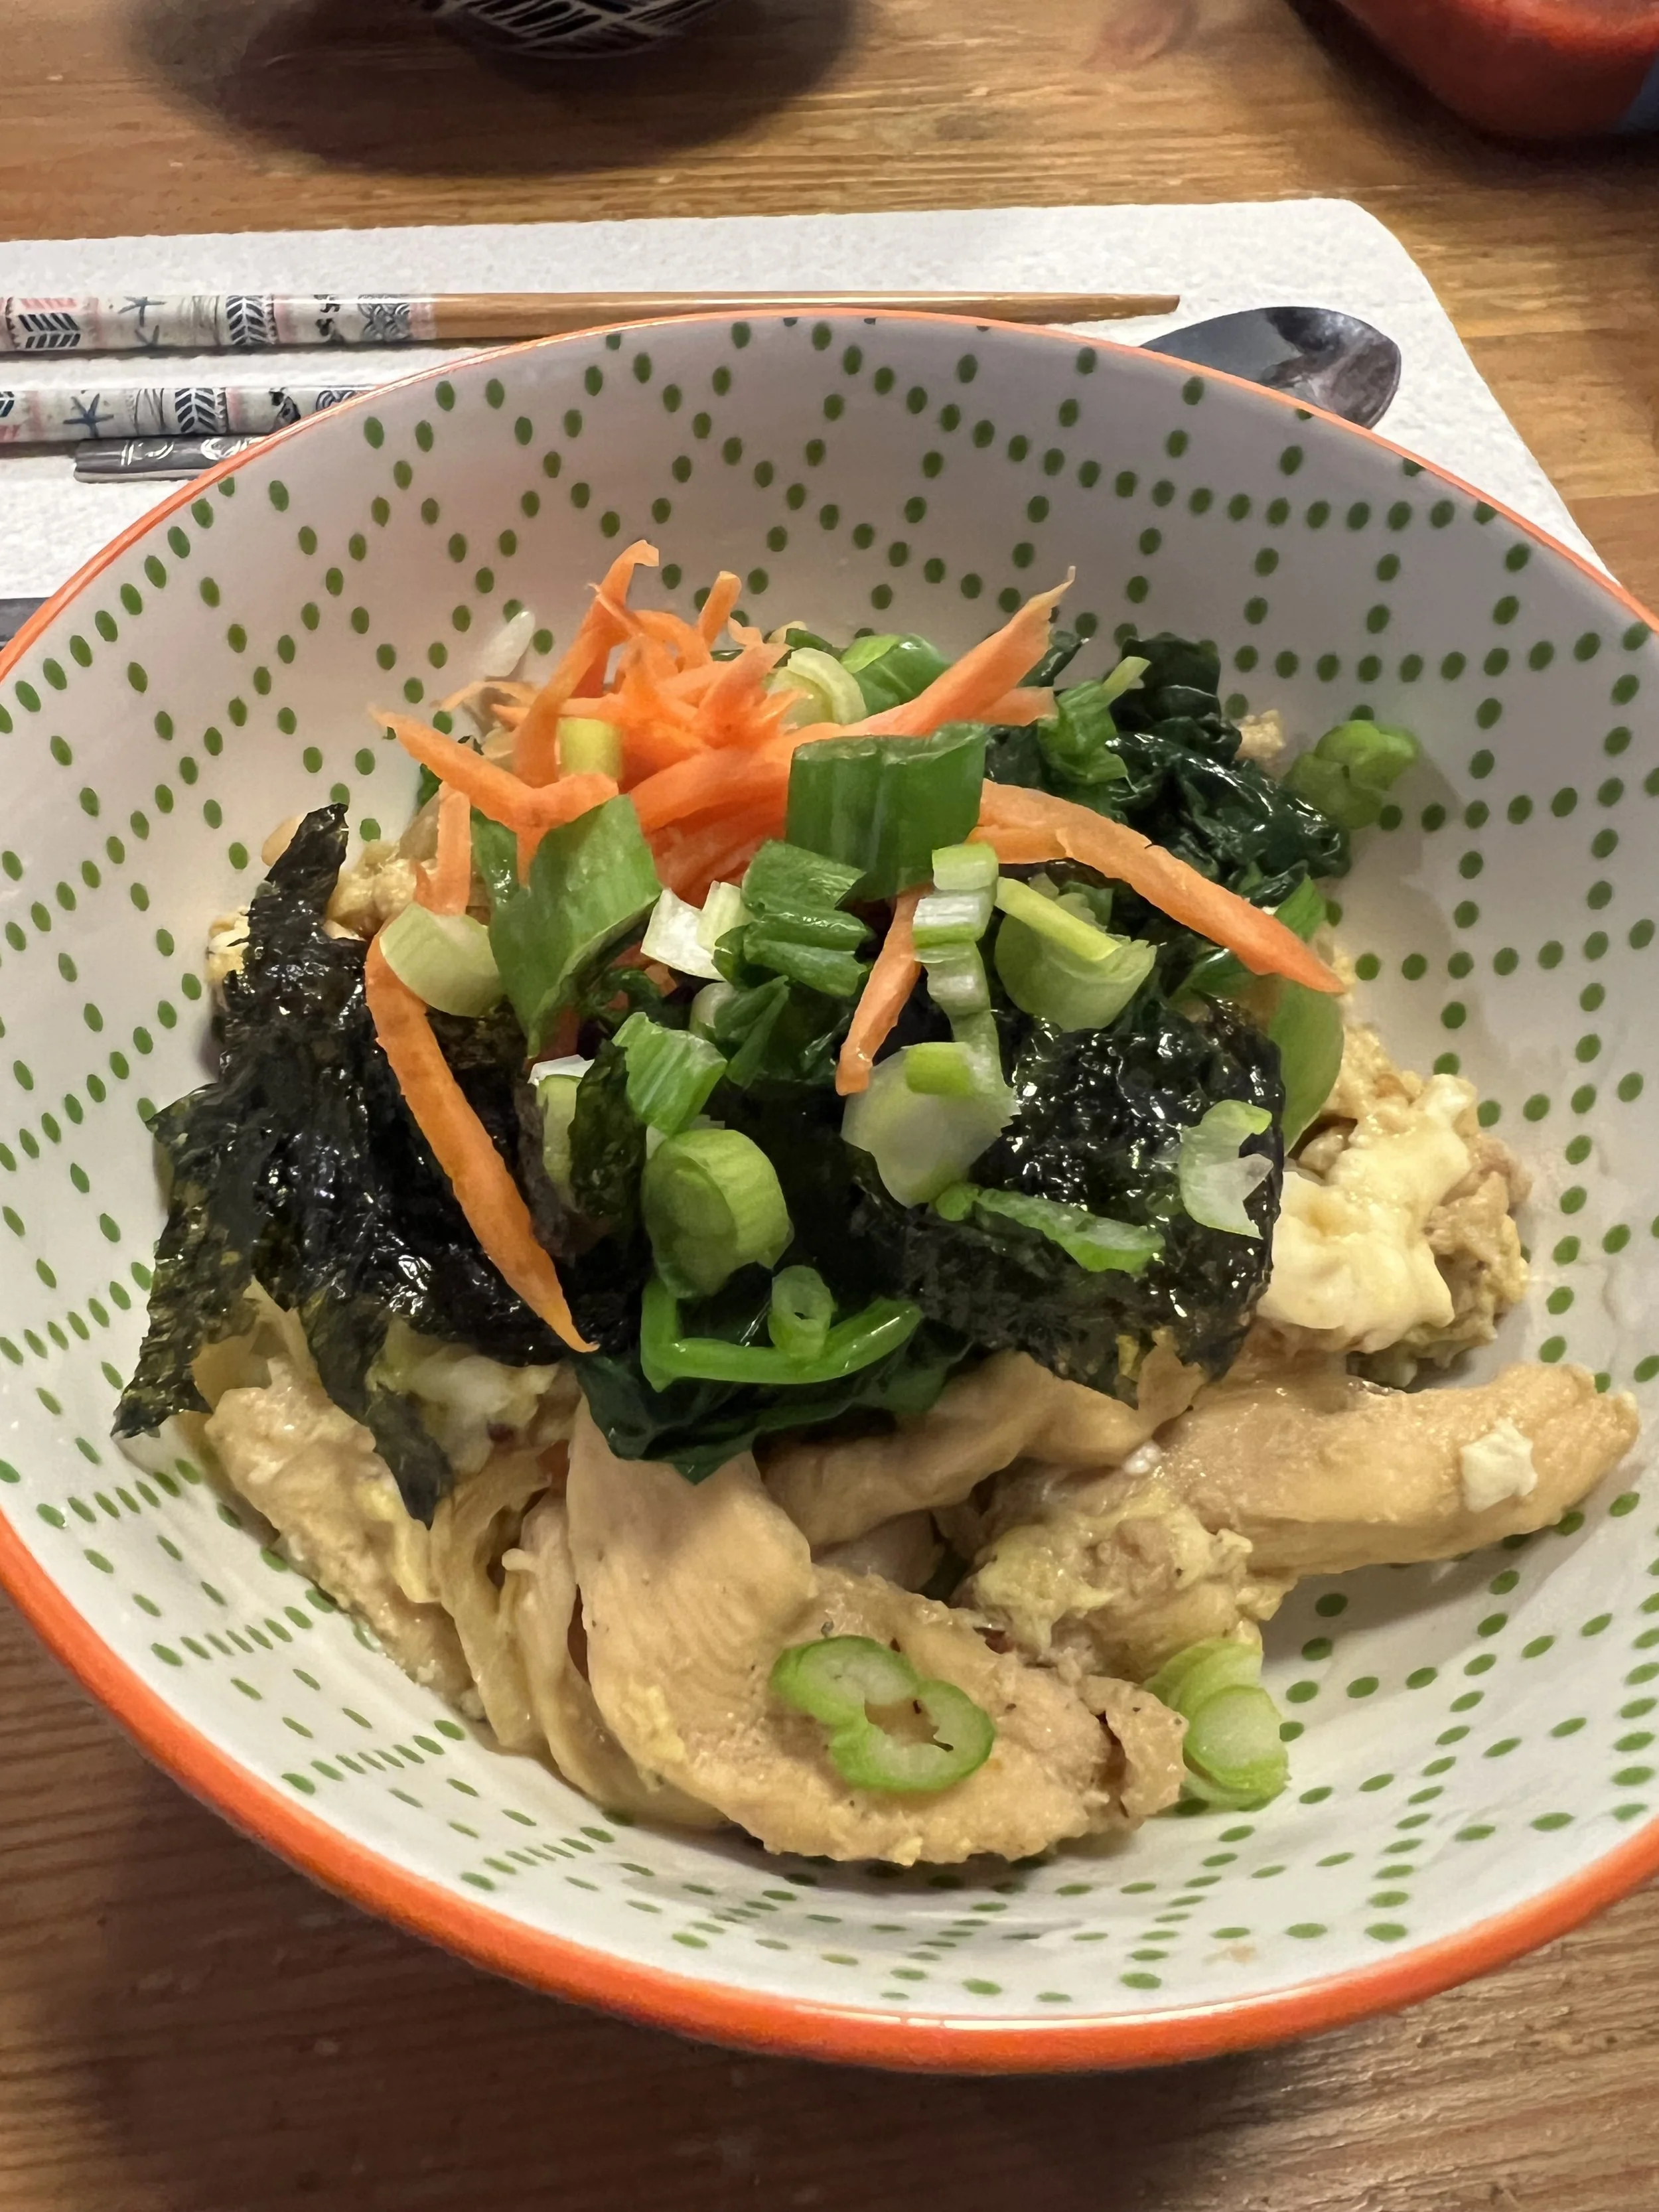
Topped my homemade oyakodon with green onion, seaweed, carrots and spinach! Yum!